

Sewing your own sleepwear is one of the most rewarding projects you can try as a beginner. It gives you a soft, comfortable garment made exactly to your taste, and it teaches you skills you can use again and again.
If you have ever wondered how to make night dress pieces that actually fit well and feel good against your skin, you are in the right place.
This guide breaks the whole process into simple, friendly steps that anyone can follow, no matter your experience level.
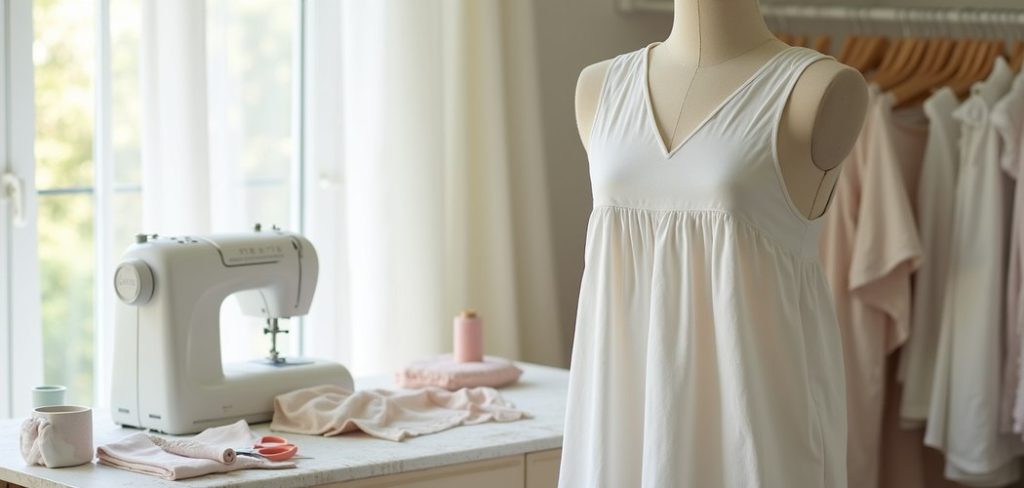
You do not need fancy equipment or years of practice to get started. With a basic sewing machine, some soft fabric, and a little patience, you can create a night dress you will love wearing.
Along the way, you will learn how to choose materials, measure yourself correctly, and finish your seams neatly. By the end, you will have both a finished garment and the confidence to make more.
Let’s turn that idea into something real and wearable.
Why Making Your Own Night Dress Matters
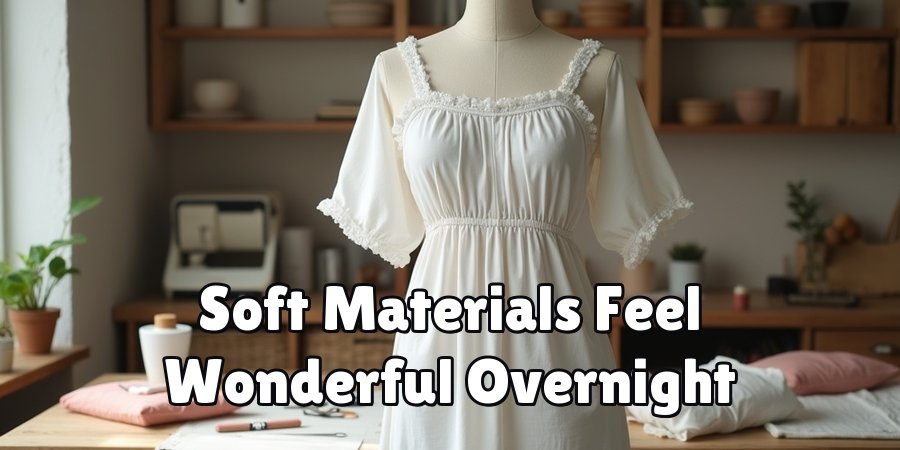
Making your own sleepwear puts you in full control of comfort, fit, and style. Store-bought options often feel too tight, too loose, or made from scratchy fabric that keeps you awake. When you sew your own, you pick materials that feel wonderful and colors that suit you.
It also saves money over time and reduces waste, since you use only what you need. Beyond the practical wins, there is real joy in wearing something you created with your own hands.
Each project builds your skills, so the next garment comes together faster and looks more polished. You gain independence, creativity, and a sense of accomplishment that a shopping trip simply cannot match.
Step-by-Step Guide to How To Make Night Dress
Step 1: Gather Your Tools and Materials
Before anything else, collect everything you need in one spot so you can work without interruptions.
You will want a sewing machine, matching thread, sharp fabric scissors, pins, a measuring tape, and a fabric marker or chalk.
Choose a soft, breathable fabric such as cotton, jersey, or a light rayon blend, since these feel gentle overnight.
Getting organized early saves time and frustration later. Lay your supplies on a clean table and check that your machine is threaded correctly with a fresh needle.
Buy a little extra fabric to allow for mistakes, as this small buffer gives beginners room to practice.
When your workspace is ready, you can focus fully on each stage without hunting for missing items halfway through.
Step 2: Take Accurate Body Measurements
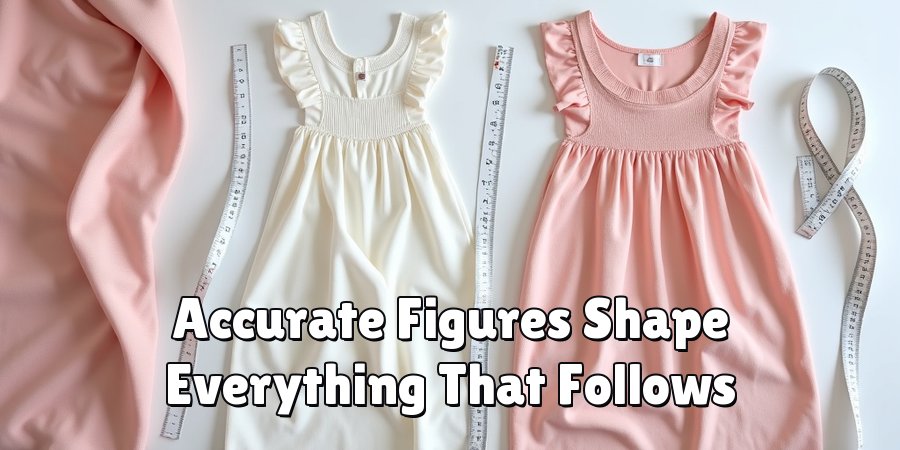
Good measurements are the foundation of a garment that fits beautifully. Use a flexible measuring tape and record your bust, waist, hips, and your desired length from shoulder to hem. Keep the tape snug but not tight, and stand naturally rather than sucking in or slouching.
Write every number down clearly so you can refer back without guessing. If possible, ask a friend to help, since measuring your own back and shoulders can be awkward.
Accurate figures mean less adjusting later and a smoother sewing experience overall.
Take your time here because these numbers shape everything that follows, and a few extra minutes now prevents disappointing surprises when you try on the finished piece.
Step 3: Choose or Draft a Pattern
Now decide how you will shape your fabric. Beginners often find that a simple free pattern or a traced favorite nightie works best, while more adventurous sewers can draft their own basic outline. A loose A-line shape is forgiving and flattering, which makes it a great starting choice.
Learning how to make night dress patterns from an existing garment is surprisingly easy. Lay a nightie you already love flat on paper, trace around it, and add about half an inch for seam allowance.
This method removes the fear of complex drafting and gives you a reliable template. Keep the pattern pieces labeled so you never mix up the front and back.
Step 4: Cut Out Your Fabric Pieces
With your pattern ready, fold your fabric neatly and place the pieces on top, following any grainline markings. Pin the pattern securely so it does not shift while you work. Cut slowly and steadily, keeping your scissors flush with the fabric for clean, even edges.
Measure twice and cut once, as the old saying goes, because fabric cannot be uncut. Double-check that you have all the pieces you need, including any straps or facings.
Handling soft, stretchy material can feel tricky at first, so go gently and let the scissors do the work.
Neat cutting at this stage makes the sewing that follows far smoother and gives your finished garment crisp lines.
Step 5: Sew the Main Seams Together
This is where your garment starts to take shape. Pin the front and back pieces right sides together at the shoulders and side seams. Sew a straight stitch along each pinned edge, keeping your seam allowance consistent so everything lines up neatly.
Understanding how to make night dress seams strong yet comfortable comes down to a few good habits.
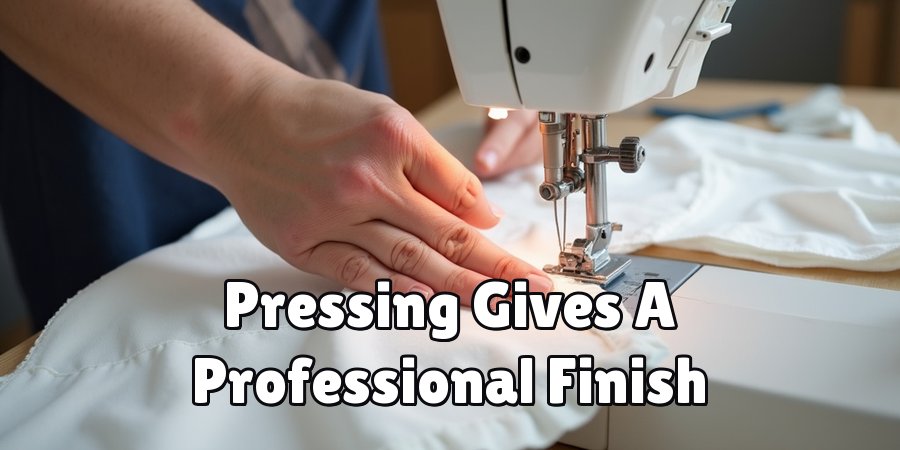
Backstitch at the start and end of each line to lock your stitches, and press each seam open with an iron as you go. Pressing may seem optional, but it gives your work a professional, tidy finish.
Take breaks if you feel rushed, since calm, steady sewing produces the neatest results and keeps mistakes to a minimum.
Step 6: Add Finishing Touches
With the body assembled, turn your attention to the details that make the garment feel complete. Hem the bottom edge by folding it under twice and stitching in place for a clean look. Finish the neckline and armholes with a narrow fold, bias tape, or simple facing, depending on your comfort level.
These touches protect raw edges and stop fraying, which helps your creation last through many washes. If you want, add thin straps, a small bow, or soft lace for a personal flourish.
Try the garment on before final stitching so you can tweak the fit. Small adjustments here turn a decent result into something you will genuinely love wearing.
Step 7: Press, Try On, and Enjoy
The final stage brings everything together. Give the whole garment a gentle press with your iron to smooth out any wrinkles and set the seams. This last step makes an enormous difference in how polished the finished piece looks.
Slip it on and check the fit across the shoulders, bust, and length. If something feels off, note it for your next project rather than worrying now, since every maker improves with practice.
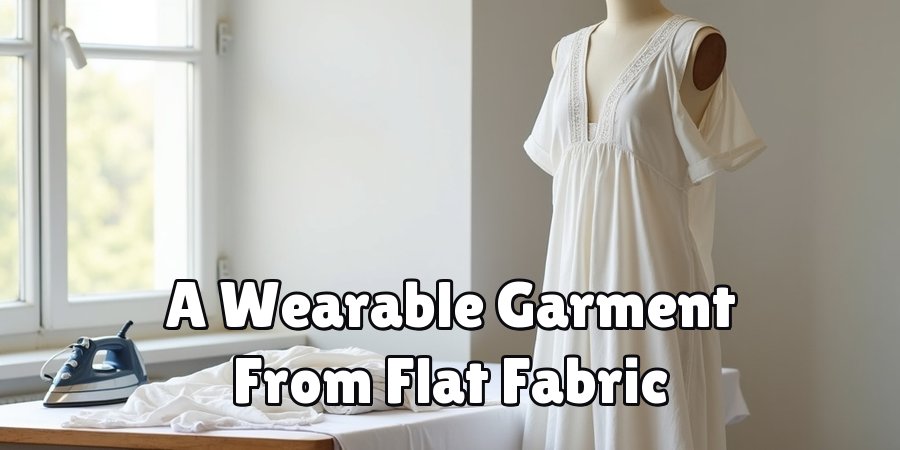
Celebrate what you have accomplished, because you started with flat fabric and ended with a wearable garment. Wash it according to the fabric care instructions, then enjoy the comfort of sleepwear made entirely by you.
Frequently Asked Questions
What Fabric Works Best for Homemade Sleepwear?
Soft, breathable fabrics work best because they keep you comfortable through the night. Cotton is gentle and easy to sew, making it ideal for beginners.
Jersey knit feels stretchy and cozy, while lightweight rayon drapes beautifully. Avoid stiff or synthetic materials that trap heat.
Choosing a fabric you love to touch will make both the sewing process and the finished garment far more enjoyable.
Do I Need a Sewing Machine to Start?
A sewing machine speeds things up and creates strong, even seams, so it is highly recommended. That said, you can hand-sew a simple garment if you are patient and enjoy the process.
Beginners often find a basic machine less intimidating than expected, especially with a little practice on scrap fabric first. Either way, start with straight stitches and build your confidence before attempting more advanced techniques.
How Long Does This Project Usually Take?
Timing depends on your experience and the design you choose. A simple, loose style can take a confident beginner around three to four hours from cutting to finishing.
If you are brand new to sewing, allow a full afternoon or split the work across two sessions. Rushing rarely helps, so give yourself room to enjoy each step.
With every project, your speed and confidence will naturally grow.
What if My Measurements Come Out Wrong?
Small measurement errors happen to everyone, and most are easy to fix. If a garment feels loose, you can take in the side seams for a snugger fit.
If it feels tight, choose a stretchier fabric or add a little ease next time. Always make a note of adjustments so future projects improve.
Treat early mistakes as valuable lessons rather than failures, since they build real, lasting skill.
Can Complete Beginners Really Do This?
Absolutely, and this project is a wonderful place to begin. The steps are straightforward, the shapes are forgiving, and there is plenty of room to learn as you go.
Start with an easy pattern and simple fabric, then follow each stage slowly. Support and tutorials are widely available whenever you feel stuck.
Thousands of first-time sewers complete a garment like this successfully, and you can too with patience and practice.
Conclusion
Creating your own sleepwear is a satisfying project that rewards you with comfort, confidence, and a genuine sense of achievement.
By gathering the right tools, measuring carefully, and working through each step at your own pace, you can produce a garment that fits and feels exactly the way you want.
Every stitch teaches you something new, and each finished piece makes the next one easier.
Now that you know how to make night dress projects from start to finish, there is nothing stopping you from picking up your fabric and beginning today.
Start small, be kind to yourself as you learn, and celebrate every bit of progress along the way.
Your first handmade garment is just a few simple steps away, so grab your supplies and enjoy the creative journey ahead.

The Sew Fixes team — we mend our own clothes and write down what worked. Every guide here started as a repair on something we were not ready to throw away.