

A tear in your favorite shirt or a rip along the seam of your couch cushion can feel like the end of the road for that item.
The good news is that it rarely has to be.
Learning how to mend torn fabric is one of the most useful skills you can pick up, and it works for clothing, upholstery, bags, and even household linens.
You do not need years of sewing experience or a fancy machine to get started, either. A needle, some thread, and a bit of patience will carry you through most repairs.
In this guide, we will walk through everything step by step, in plain language, so you feel confident tackling that tear yourself.
We will cover the tools you need, the techniques that give the cleanest results, and answers to common questions that trip up beginners.
By the end, you will have a repair method you can reuse again and again, saving both money and the things you love.
Why Mending Torn Fabric Matters
Fixing a tear does more than restore an item to working order. It keeps clothes and household goods out of the landfill, which is a real win for both your wallet and the planet. Fast fashion and quick replacements add up fast, so every repair you make stretches your budget further.
There is also a satisfying sense of ownership that comes with fixing something with your own hands. A well-mended garment often lasts for years longer than expected.
Beyond the practical benefits, the skill itself is transferable. Once you understand the basics, you can adapt them to leather patches, delicate silk, or heavy denim.
In short, this small effort delivers lasting value across nearly everything in your home.
Step-by-Step Guide to How to Mend Torn Fabric
Step 1: Gather Your Tools And Materials
Before you begin, set up a small kit so you are not searching mid-project.
You will want a needle suited to your fabric weight, thread that matches the color as closely as possible, sharp scissors, and a few pins to hold things in place.
A thimble protects your finger on tougher materials, and an iron helps you press seams flat.
Learning how to mend torn fabric starts with the right supplies, because using the wrong needle or thread often leads to puckering or weak stitches. Keep everything within reach on a clean, well-lit surface so you can focus fully on the repair itself.
Step 2: Assess The Damage
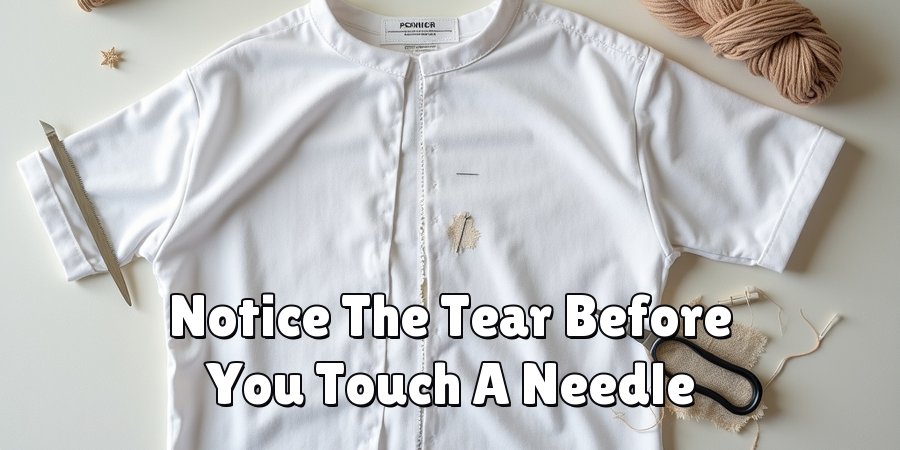
Take a close look at the tear before you touch a needle. Notice whether it runs along a seam, cuts across the weave, or forms a hole with missing threads. Each type calls for a slightly different approach, so this quick check saves you time later.
Gently pull the edges together and see how they meet. If the fabric frays easily, you may need to reinforce it with a patch on the back. Understanding the size and direction of the damage helps you choose the strongest stitch and prevents the tear from reopening after your first wash.
Step 3: Clean And Prepare The Area
Always work with clean fabric, since dirt and oils weaken thread and make stitches slip. Wash and fully dry the item first, then lay it flat on your workspace. Trim away any loose or frayed threads around the tear with your scissors, but be careful not to widen the opening.
If the edges curl or stretch, press them lightly with a warm iron to flatten them. This preparation step feels small, yet it makes an enormous difference in how neat and durable your finished repair turns out. A smooth, tidy surface is far easier to stitch cleanly.
Step 4: Choose The Right Stitch
The stitch you pick depends on the fabric and the location of the tear. A running stitch works well for light, straight repairs, while a whipstitch holds edges together along a seam. For holes, a ladder stitch pulls both sides in so the closure nearly disappears from view.
When you are working out how to mend torn fabric on stretchy material, a small zigzag motion allows the repair to flex without snapping. Match the stitch to the job rather than forcing one method everywhere. Taking a moment here rewards you with a repair that lasts and blends in naturally.
Step 5: Sew The Tear Closed
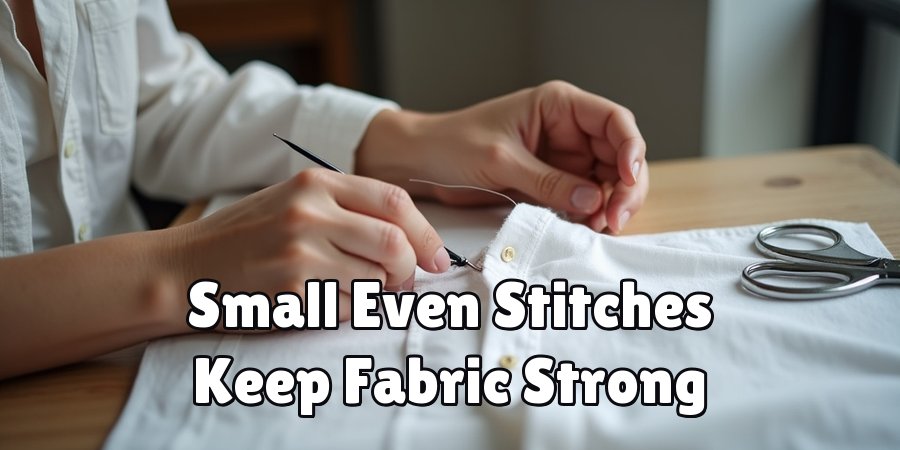
Thread your needle and tie a secure knot at the end. Start from the underside of the fabric so the knot stays hidden, then bring the needle up through one edge of the tear. Work in small, even stitches, keeping them close together for strength without bunching the material.
Pull the thread snug after each pass, but avoid yanking, which can pucker the fabric. Follow the line of the tear steadily until you reach the far end. Consistent tension is the secret to a professional look, so take your time and let your rhythm settle into a comfortable, repeatable motion.
Step 6: Reinforce The Repair
Once the tear is closed, add strength so it holds up to daily use. Turn the item inside out and stitch a second, lighter pass along the same line, or attach a small backing patch for extra support on high-stress areas like knees and elbows.
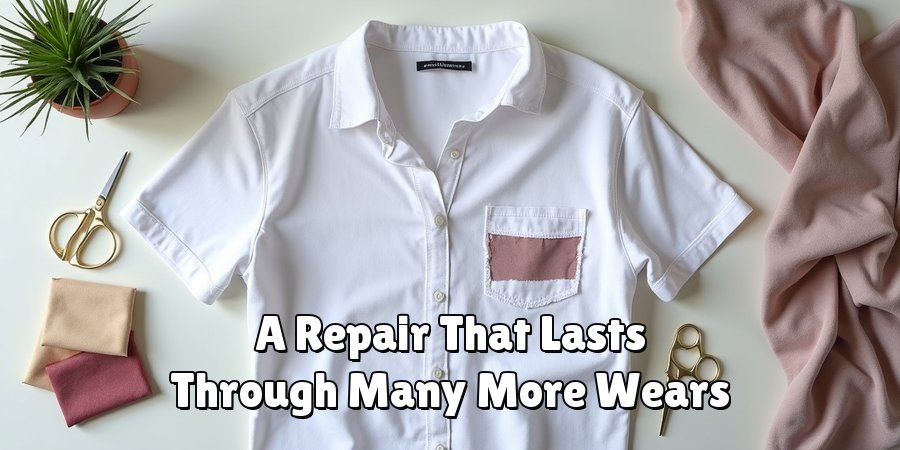
Fusible interfacing is another friendly option, since you simply iron it onto the back of the fabric to bond the layers together. Reinforcing may seem like extra work, yet it is what separates a quick fix from a lasting one. This step gives you peace of mind that the repair will survive many more wears.
Step 7: Finish And Inspect
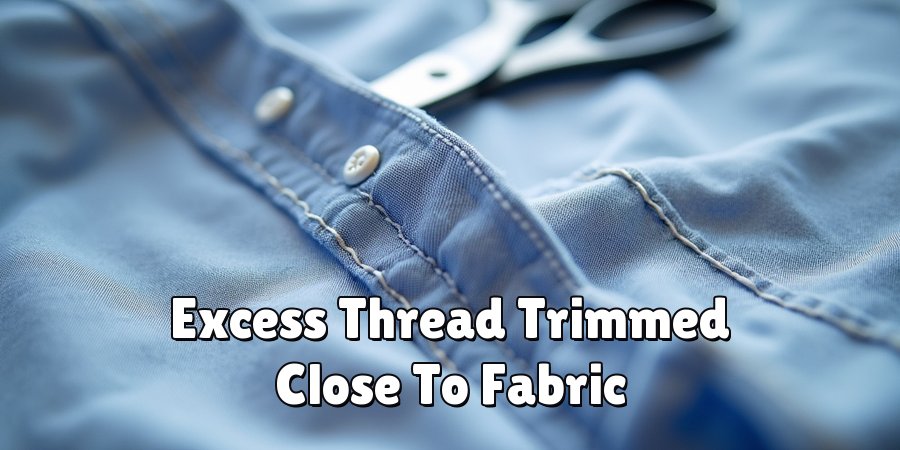
Tie off your thread with a firm knot on the underside, then trim the excess close to the fabric so no loose ends dangle. Give the repaired area a gentle press with your iron to settle the stitches and smooth any small wrinkles.
Finally, inspect your work in good light. Tug lightly on both sides of the tear to confirm the stitches hold and nothing gaps. If you spot a weak point, add a stitch or two before you call it done. This final review builds confidence and ensures your effort truly pays off.
Frequently Asked Questions
Can I Repair Fabric Without Sewing At All?
Yes, you can. Fabric glue and iron-on patches offer a no-sew route that works well for small tears and lightweight materials. These options are quick and beginner-friendly, though they may not hold up as long as stitching on high-stress areas. For a fast, temporary fix, they are a genuinely handy solution to keep on hand.
What Thread Should A Beginner Use?
Start with all-purpose polyester thread, since it is strong, flexible, and works across most everyday fabrics. Match the color to your item so the repair blends in.
For heavier materials like denim or canvas, choose a thicker upholstery thread instead. Having a few common colors in your kit means you are ready for almost any small repair.
How Do I Fix A Tear On Stretchy Clothing?
Stretchy fabrics need a stitch that moves with the material, so reach for a small zigzag or a stretch stitch. Avoid pulling the thread too tight, since rigid stitches will snap when the garment flexes.
A backing of lightweight stretch interfacing adds support without stiffening the fabric, keeping your repair both flexible and durable through regular wear and washing.
Will The Repair Survive The Washing Machine?
A well-stitched and reinforced repair holds up nicely to normal washing. To be safe, turn the item inside out, use a gentle cycle, and wash in cool water.
Skip harsh wringing and high heat drying for the first few washes. These simple habits protect your stitches and help the mended area settle securely into the surrounding fabric.
When Should I Take An Item To A Professional?
Handle small tears, loose seams, and minor holes yourself with confidence. Consider a professional for delicate fabrics like silk, structured items such as tailored jackets, or valuable pieces you cannot risk damaging.
Tricky repairs near zippers, linings, or complex seams also benefit from expert hands. Knowing your limits saves you frustration and protects the items that matter most.
Conclusion
Repairing a tear is a skill that rewards you every single time you use it.
With a basic kit, a clear plan, and a little practice, you can close rips cleanly and keep your favorite items in service far longer.
We covered how to gather your tools, assess the damage, choose the right stitch, and reinforce your work so it lasts through many more wears and washes.
Now that you know how to mend torn fabric from start to finish, the best next step is simply to try it.
Grab that shirt or cushion you have been meaning to fix and put these techniques to work. Each repair builds your confidence, and before long you will be handling tears without a second thought.
Your wallet, your wardrobe, and the planet will all thank you.

The Sew Fixes team — we mend our own clothes and write down what worked. Every guide here started as a repair on something we were not ready to throw away.