

Ripped fabric has a way of choosing its moment. It’s rarely the old shirt you were planning to throw out anyway—it’s your favorite pair of jeans, or the dress you were planning to wear this weekend. Annoying, yes. But for most tears, not irreversible.
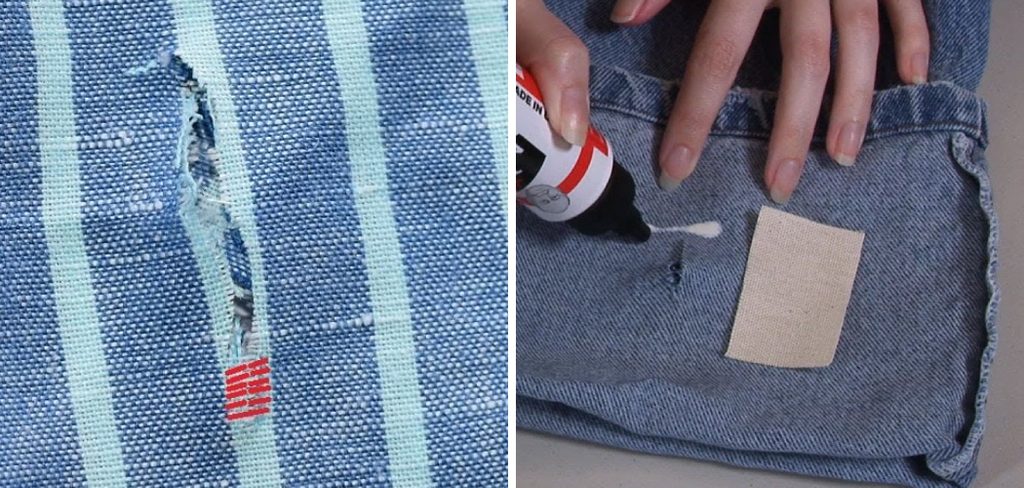
The good news is that you don’t need formal training to fix a rip at home. A needle, some matching thread, and a bit of patience will handle the majority of fabric damage you’re likely to encounter. Some repairs take less than twenty minutes. Others, on heavier materials or longer tears, might stretch to an hour—still far cheaper than buying a replacement.
This guide on how to repair ripped fabric covers everything you need: the tools, the method, the mistakes worth avoiding, and an honest look at when it makes more sense to hand the job to a professional.
Tools and Materials Needed
Having the right materials before you start makes a real difference. Hunting for scissors mid-repair, or realizing you’ve run out of matching thread, breaks your concentration and often leads to rushed stitching. Gather everything first.
Needle and Thread
The most fundamental pairing in fabric repair. Choose a thread color as close to the fabric as possible—under natural light, if you can. A slight mismatch is far more visible than most people expect.
Fabric Glue or Iron-On Adhesive
Useful for quick fixes, especially on lightweight or delicate materials where pushing a needle through risks further damage. Not a permanent solution for high-stress areas, but effective for small tears in low-wear spots.
Scissors
Fabric scissors specifically—not the ones sitting in your kitchen drawer. The difference in cut quality matters more than it sounds, especially when you’re trimming frayed edges close to the repair area.
Fusible Webbing or Iron-On Patch
These reinforce repairs from the inside, bonding fabric layers together with heat. For tears longer than an inch or two, they provide structural support that thread alone may not.
Sewing Machine (Optional)
Hand-sewing works for most repairs. On thick fabrics like denim or canvas, though, a machine produces a stronger seam and saves considerable time. If you have access to one, it’s worth using.
Pins or Clips
These hold torn edges in alignment while you work. Skipping this step is one of the more common mistakes—more on that shortly.
Iron and Ironing Board
Needed for activating iron-on materials, and also useful at the end of a repair to press the seam flat and blend stitching into the surrounding fabric.
7 Simple Steps on How to Repair Ripped Fabric
Step 1: Assess the Damage
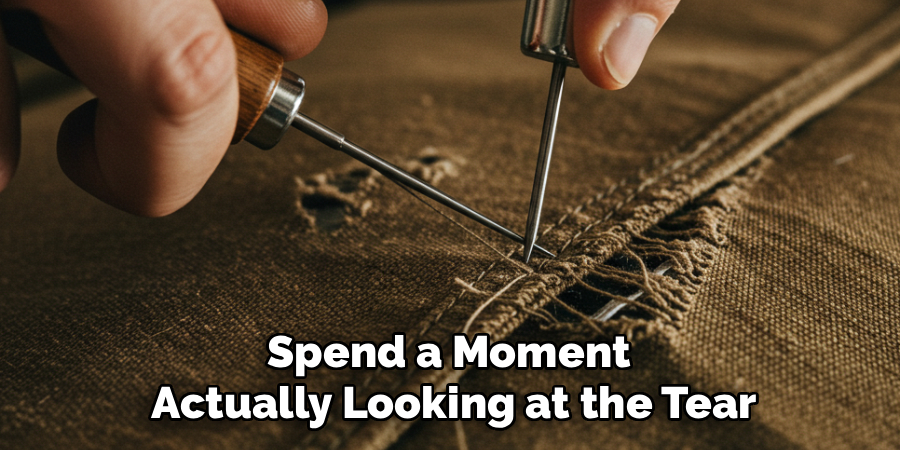
Don’t reach for your needle yet. Spend a moment actually looking at the tear. Is it a clean cut, or a jagged rip with multiple frayed threads pulling in different directions? How long is it? What’s the fabric—cotton, denim, a synthetic knit? A small, straight tear on a cotton shirt calls for a very different approach than a wide rip in a structured jacket. Getting this wrong at the start tends to compound problems later.
Step 2: Clean and Prepare the Fabric
Wash and dry the item before you start. This might feel like an unnecessary delay, but dirt and skin oils can interfere with adhesive bonding and make it harder to sew cleanly. Once dry, lay the fabric flat and use scissors to trim any loose threads or frayed edges around the tear. A neat edge is significantly easier to work with than a ragged one.
Step 3: Align the Torn Edges
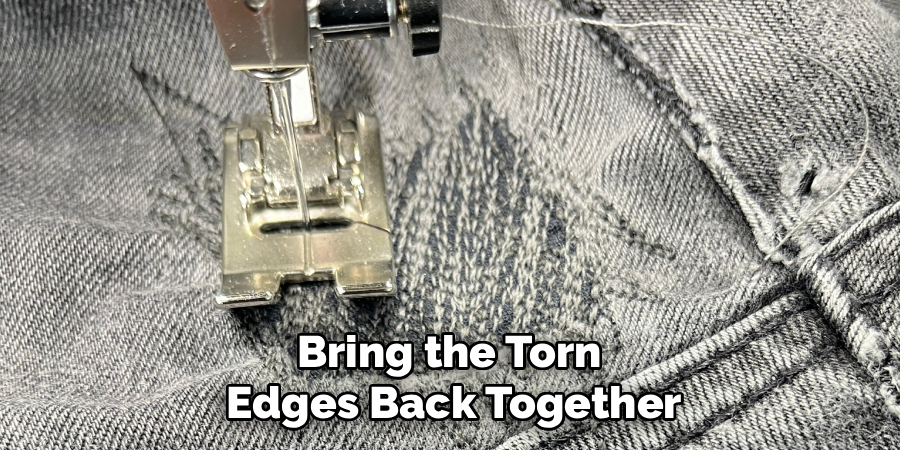
Bring the torn edges back together as precisely as you can, then secure them with pins or clips. Take your time here—alignment matters more than most people realize. Edges that are even slightly off will pucker or pull after stitching, distorting the fabric’s shape in a way that’s difficult to correct later.
Step 4: Apply Fusible Webbing or a Patch (If Needed)
For larger tears, or for thin fabrics that may not hold stitching well on their own, add internal reinforcement before you sew. Cut your fusible webbing or iron-on patch a little larger than the tear—roughly half an inch of overlap on each side is a reasonable starting point—and press it onto the wrong side of the fabric with a hot iron, following the product’s timing instructions. This step adds structure and may reduce the risk of the tear spreading over time, particularly in areas subject to regular movement or stress.
Step 5: Stitch the Tear Closed
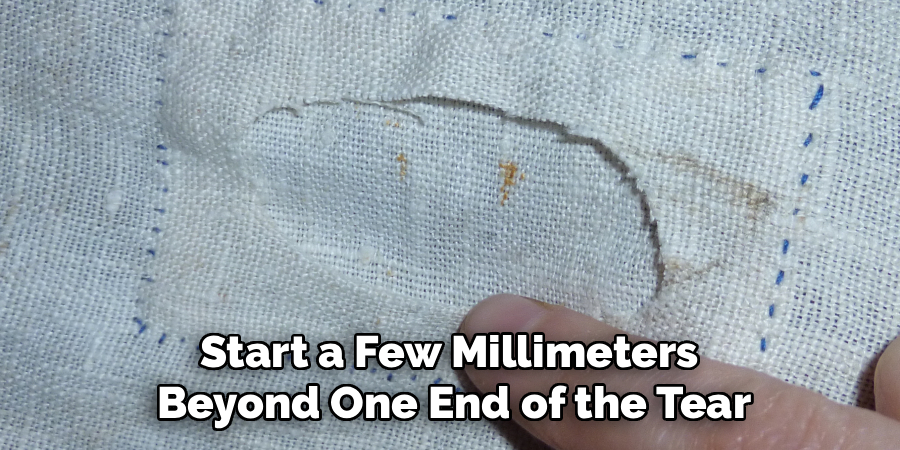
Start a few millimeters beyond one end of the tear, then work steadily toward the other end. Keep your stitches small and even. For a repair that’s meant to be invisible, a ladder stitch is worth learning—it draws the edges together from the right side with almost no visible thread once pulled tight. For repairs on the inside of a seam, a straight stitch by hand or machine offers more strength.
Step 6: Secure and Knot the Thread
Finish by knotting the thread tightly at both ends, then pass the needle back through a few stitches before cutting. This prevents the knot from working loose with wear and washing. On a sewing machine, backstitch at the start and end of the seam—two or three passes is enough.
Step 7: Press and Finish the Repair
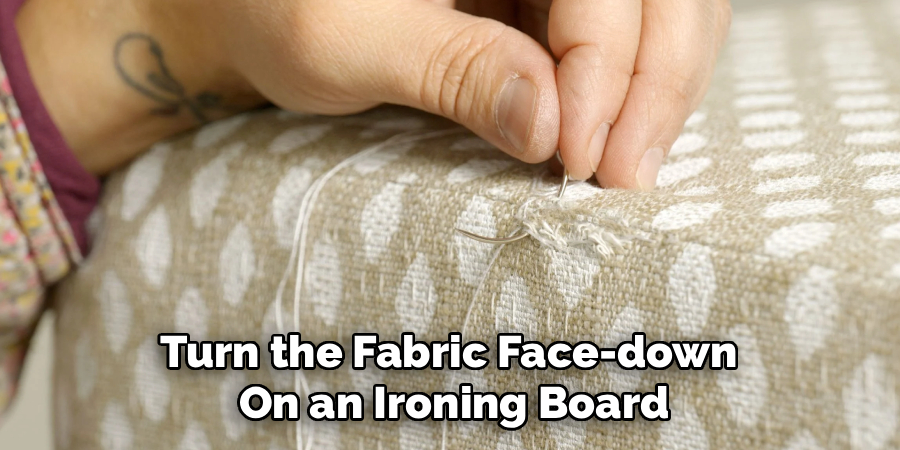
Turn the fabric face-down on an ironing board and press the repaired area with a warm iron. This flattens the seam and helps the stitching settle into the fabric rather than sitting on top of it. Flip it over, inspect from the right side, and trim any remaining loose threads. The repair should look clean and sit flat.
Following these steps on how to repair ripped fabric can save you time and money, as well as extend the life of your clothing.
Common Mistakes to Avoid
A few patterns tend to show up repeatedly in DIY fabric repairs, and most of them are avoidable.
Skipping the preparation stage is probably the most frequent. Repairing fabric without washing it first, or without trimming frayed edges, produces weaker results—adhesives bond poorly to dirty surfaces, and jagged edges are harder to align cleanly.
Using thread that doesn’t match is another issue. It’s tempting to use whatever’s close, but a visible repair on a favorite garment can feel more frustrating than the original rip.
Rushing alignment—or skipping it entirely—leads to puckering. The pins feel fiddly, but they do real work. Similarly, stitches that are too long or too loose will weaken over time, particularly in areas that flex regularly, like the seat seam on trousers or the underarm of a jacket.
Do You Need to Use Professionals?
Honestly? For most tears, no. A basic home repair handles the majority of everyday fabric damage competently, and costs a fraction of what a tailor would charge.
That said, there are situations where professional help is the more sensible choice. Complex seams with structured interfacing, garments with patterns that need to be matched precisely, or materials like silk, wool, and leather—these can go wrong quickly in inexperienced hands. Leather in particular behaves differently from woven fabrics; puncture marks from incorrectly placed stitching don’t disappear.
If the garment has significant monetary or sentimental value, consulting a tailor before attempting a repair yourself may save you from a worse outcome. A professional assessment is often free or low-cost, and it gives you a clearer picture of what you’re working with.
How Much Will It Cost?
A basic DIY repair kit—needles, thread, a few iron-on patches, fabric glue—typically runs between $10 and $20 and covers multiple future repairs. For routine fixes, the cost per repair is negligible.
Professional alterations vary by location and job complexity. A straightforward seam repair at a tailor shop may cost anywhere from $10 to $30. More specialized work—reweaving torn wool, handling structural damage on leather—can reach $50 or more. In almost every case, repair is substantially cheaper than replacement, which also has the advantage of keeping a well-made garment in use rather than in a landfill.
Frequently Asked Questions
Can I Repair a Ripped Fabric Without Sewing?
Yes. Fabric glue, iron-on patches, and fusible webbing all work without any stitching. These methods are particularly effective on lightweight fabrics and on tears in areas that don’t experience heavy stress or repeated flexing. For durability in high-wear spots—jeans, jacket seams, bag straps—sewing still tends to hold better over time.
What Is the Best Stitch for Repairing Torn Fabric?
The ladder stitch is widely regarded as the most discreet option for visible tears, drawing edges together with minimal thread showing on the surface. For internal seam repairs where appearance matters less than strength, a straight stitch on a sewing machine is more reliable.
How Do I Repair a Rip in Stretchy or Knit Fabric?
Stretchy and knit fabrics need a stitch that moves with the material. A zigzag stitch on a sewing machine, or a backstitch by hand, both accommodate stretch without snapping under tension. Iron-on adhesives alone tend to crack or peel on stretch fabrics and are generally not recommended as a standalone fix for these materials.
How Long Does a Fabric Repair Usually Take?
Small, clean tears on lightweight fabric can take as little as ten to fifteen minutes. Larger repairs, or work on thicker materials requiring reinforcement and pressing, may take closer to an hour. First-time repairs often take longer—the process becomes faster with practice.
Will the Repair Be Visible After It’s Done?
This depends on the technique, the fabric, and how closely you matched the thread. A ladder stitch on a clean tear, with well-matched thread and proper alignment, can be nearly invisible. Repairs on patterned fabrics are harder to conceal and may always show some evidence of the fix, though a good repair will still look far better than an unaddressed rip.
Your Fabric Repair Starts Here
Most rips look worse than they are. The tear that feels like the end of a garment’s useful life is, in many cases, a twenty-minute fix with tools that cost less than a takeaway coffee.
The process rewards patience more than skill. Assess the damage carefully. Prepare the fabric before you start. Choose the right method for the material. Small, even stitches and proper alignment will carry you through most repairs. And when a job is genuinely beyond what a needle and thread can handle cleanly—hand it to someone who has the right tools for it. There’s no shame in knowing the difference. Thanks for reading this guide on how to repair ripped fabric.

About
Bennie Wilder is a dedicated figure in the world of sewing, clothing repair, and garment care, with years of hands-on experience exploring practical techniques for making, repairing, and maintaining everyday clothing. His professional focus lies in combining traditional sewing craftsmanship with modern, easy-to-follow solutions, helping readers confidently handle common clothing problems at home. As an author at SewFixes, Bennie shares practical knowledge on sewing techniques, garment alterations, fabric care, clothing repairs, and DIY projects for beginners and experienced sewing enthusiasts alike.
Education
Fashion Institute of Technology (New York, USA)
Associate Degree in Fashion Design & Apparel Studies
- Focused on garment construction, sewing techniques, fabric fundamentals, and clothing alterations.
- Developed practical skills in pattern making, hand stitching, machine sewing, and garment finishing.
- Gained hands-on experience working with different fabrics, sewing tools, and apparel construction methods.
Academy of Art University (San Francisco, USA)
Bachelor’s in Fashion Design
- Specialized in apparel construction, textile selection, garment fitting, and contemporary clothing design.
- Studied the relationship between fabric properties, garment structure, durability, and comfort.
- Participated in practical design projects involving garment creation, alterations, repairs, and sustainable clothing practices.
Publications and Impact
Through SewFixes, Bennie shares practical insights into sewing, clothing repair, fabric care, garment alterations, and everyday DIY solutions. His writing focuses on turning complicated sewing tasks into simple, understandable steps that readers can follow at home.
Bennie covers everything from repairing torn seams and replacing buttons to fixing hems, adjusting garment fit, choosing suitable fabrics, and maintaining sewing machines and tools. His content is designed to help readers become more confident with their clothing while encouraging practical repair and reuse instead of unnecessary replacement.
Through his work, Bennie aims to bridge the gap between traditional sewing knowledge and modern everyday needs—making sewing more approachable, useful, and accessible to anyone who wants to repair better, sew smarter, and make their clothes last longer.