

Flutter sleeves are one of those small design details that quietly transform a garment. They add movement, a sense of ease, and just enough visual interest to make something feel considered rather than thrown together. The best part? They’re far less intimidating to sew than they look.
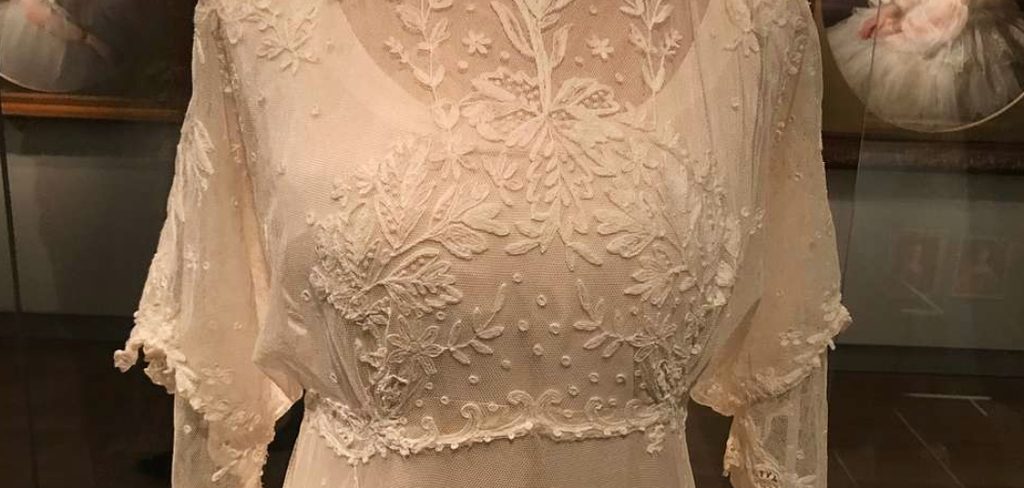
This guide on how to sew a flutter sleeve covers everything from fabric selection to the final press—including the steps that beginners tend to skip (and later regret). Whether you’re working from a commercial pattern or drafting your own sleeve from scratch, these seven steps should get you to a result that looks clean, intentional, and genuinely polished.
Tools and Materials Needed
Before you pick up your scissors, it’s worth pulling everything together first. Mid-project supply runs break your concentration and, if you’re working with something slippery like chiffon, interrupted momentum can cost you a clean cut.
Here’s what you’ll need:
Fabric
Go lightweight and drapey. Chiffon, georgette, rayon challis, and crepe all tend to work well. Denim, canvas, or anything with real structure won’t give you the fluid movement you’re after—set those aside for a different project.
Sewing Machine
A standard home machine is all you need. Test your stitch tension on a fabric scrap before you begin, particularly if you’re working with something sheer or loosely woven.
Sewing Scissors or Rotary Cutter
Dull blades are the enemy of clean cuts, especially on slippery fabrics. Sharp scissors or a fresh rotary blade will give you far more control along the curves.
Measuring Tape and Ruler
A flexible tape for the armhole curve, a straight ruler for marking. Both are necessary—one won’t substitute for the other here.
Fabric Chalk or Marking Pen
Water-soluble markers are ideal. They wash out cleanly without leaving a trace on delicate fabric.
Pins and Clips
Fine pins for lightweight fabrics—standard pins can snag or distort them. Sewing clips work well for thicker seam allowances.
Iron and Ironing Board
Pressing as you sew makes a measurable difference in the finished result. This isn’t optional—it’s part of the process.
Thread
Match the thread color to your fabric as closely as you can. A fine polyester or cotton thread tends to be the right weight for lighter fabrics.
How to Choose the Right Fabric for a Flutter Sleeve
Fabric choice has a significant impact on how the sleeve actually behaves when worn. The aim is movement—the sleeve should drape and shift naturally rather than sitting stiffly at the shoulder.
Chiffon is a popular option. It creates a beautiful, almost ethereal effect, though it can be frustrating to handle if you’re not used to slippery fabrics. Georgette is slightly more stable and produces a similar floaty result with a little more control. Rayon challis is arguably the most beginner-friendly of the lot—it drapes well, comes in a wide variety of prints, and doesn’t require the same careful handling as sheers.
For a flutter with a touch more body, cotton lawn or a lightweight linen blend can work nicely. They won’t move quite as freely, but they’re easier to sew accurately.
One quick test: hold a length of fabric at arm’s length and let it fall. If it drapes naturally, it’ll likely make a good flutter sleeve. If it holds its own shape, put it back.
7 Simple Steps on How to Sew a Flutter Sleeve
Step 1: Take Your Measurements
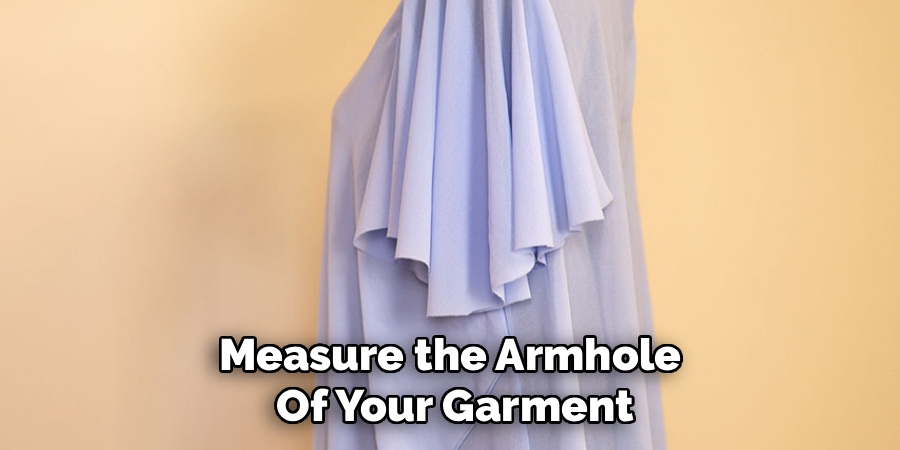
Measure the armhole of your garment—the full circumference of the opening where the sleeve will sit. Write it down. Then decide on the flutter length. Somewhere between three and six inches works for most garments, though this really comes down to personal preference and the style you’re going for.
Step 2: Draft or Cut Your Flutter Sleeve Pattern
A flutter sleeve is, at its core, a curved piece of fabric. To draft one on pattern paper, draw a semi-circle or an elongated crescent. The inner curved edge should correspond to your armhole measurement. The outer curved edge sets the flutter length. Add a 5/8-inch seam allowance around all edges before cutting.
If you’re working from an existing pattern, simply cut along the marked lines and confirm the inner curve matches your armhole before moving on.
Step 3: Cut Your Fabric
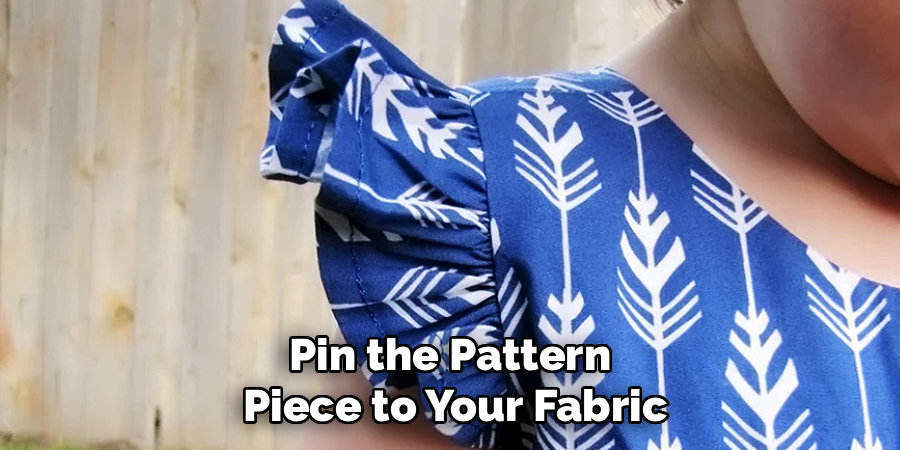
Pin the pattern piece to your fabric, then cut slowly and carefully—especially on slippery fabrics. Placing a sheet of tissue paper beneath chiffon or georgette before cutting can help prevent the fabric from shifting. Cut two identical pieces, one for each side.
Step 4: Finish the Outer Edge
The outer curved edge—the longer of the two curves—needs to be finished before you attach the sleeve to anything. A narrow rolled hem is the most commonly used method for lightweight fabrics. It’s nearly invisible and creates a clean, delicate finish.
To do this: fold the edge under twice by about 1/4 inch, press it with your iron to set the fold, then stitch close to the folded edge. A serger or French seam is also a viable option, depending on what equipment you have available.
Step 5: Stay-Stitch the Inner Curve
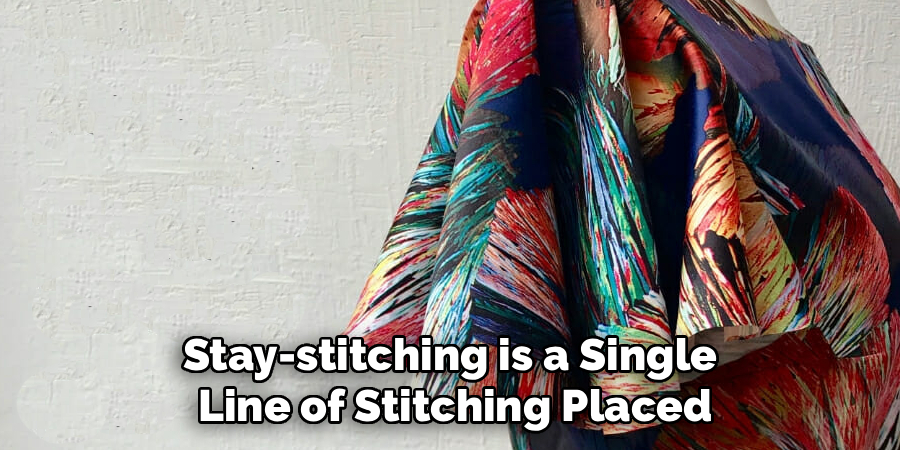
Stay-stitching is a single line of stitching placed just inside the seam allowance on a curved edge. Its only job is to stop the fabric from stretching out of shape during handling—and on a curved seam, that stretching can happen faster than you’d expect.
Sew a row of stay-stitches at 1/2 inch from the inner curved edge of each sleeve piece, just inside your seam allowance line. Don’t skip this step. It’s small, it takes about thirty seconds, and it prevents a lot of frustration later.
Step 6: Attach the Flutter Sleeve to the Garment
Place the flutter sleeve and garment body with right sides together, aligning the inner curve of the sleeve with the armhole. Pin around the curve carefully. Clip small notches into the seam allowance every half inch or so—this allows the fabric to lie flat without pulling or puckering.
Stitch along the seam line, remove the pins, and press the seam toward the garment body. Finish the seam with a serger or zigzag stitch to keep the raw edges from fraying over time.
Step 7: Press and Try It On
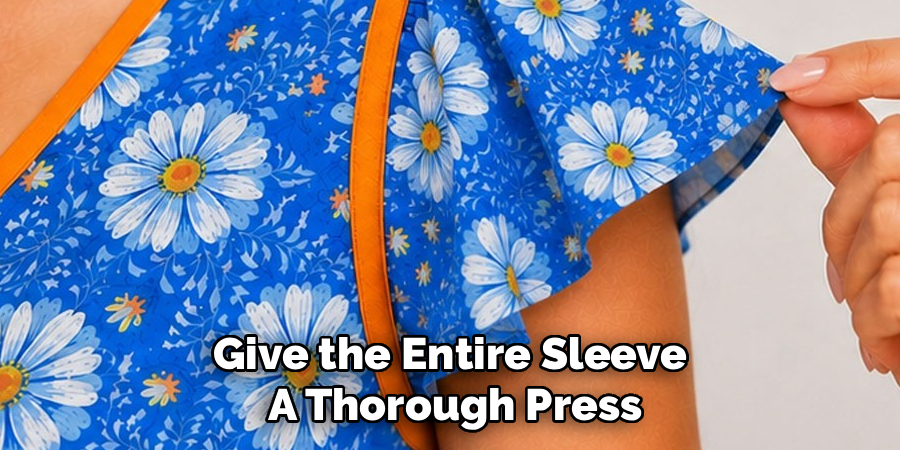
Give the entire sleeve a thorough press. If your fabric is heat-sensitive, use a pressing cloth between the iron and the fabric. Then put the garment on and check the drape. The sleeve should fall softly from the shoulder and move freely when you raise your arm.
If something looks off—stiff, bunched, or oddly placed—the next section covers how to adjust.
Following these steps on how to sew a flutter sleeve, you can easily create a stylish and feminine garment that adds movement and interest to any outfit.
How to Adjust the Flutter Effect
The amount of flutter a sleeve produces is directly related to the difference between the inner and outer curves on your pattern. A more exaggerated outer curve creates more gathering and movement. A gentler curve produces something more understated.
If the sleeve reads as too stiff, try widening the crescent shape—essentially adding more flare to the outer edge. If the flutter feels excessive or looks bunched, reduce the curve and re-cut. Making a test sleeve in inexpensive cotton before cutting into your final fabric is always a sensible approach, particularly when you’re working with something expensive or difficult to source.
Sleeve length also plays a role in overall effect. Short flutters suit casual tops and children’s clothing well. Longer, more dramatic versions tend to work better on flowy dresses and loose blouses.
Common Mistakes to Avoid When Sewing Flutter Sleeves
The most frequent issue beginners run into is fabric selection. Using something too heavy or too structured produces a sleeve that sits stiffly at the shoulder—no flutter, no movement, just a slightly odd-looking cap sleeve. Fabric choice matters more here than in most other sleeve styles.
Skipping the stay-stitching step is the second most common problem. Without it, the inner curved edge stretches during handling, and by the time you’re ready to attach the sleeve, the edge may be warped enough to cause a wavy, uneven seam. Clipping into the curve also tends to be underestimated—too few clips, and the fabric won’t lie flat; the seam pulls and puckers instead.
Tips for Beginners Sewing Flutter Sleeves
Curved seams require a slower, more deliberate stitching pace than straight seams. Rushing leads to wobbly lines and uneven seam allowances. If you’re new to working with curves, practice on scrap fabric until the motion feels comfortable before moving on to your actual garment.
A seam ripper is worth having close at hand. Mistakes happen—particularly on curved seams—and being able to remove stitches cleanly without damaging delicate fabric is a genuinely useful skill. Press at each stage of construction rather than waiting until the end. The difference in finish quality is immediately obvious.
Frequently Asked Questions
What Is the Best Fabric for a Flutter Sleeve?
Lightweight, drapey fabrics—chiffon, georgette, rayon challis, and cotton lawn—tend to produce the best flutter sleeve results. These fabrics move naturally and create the soft, fluid effect the style depends on. Heavy or stiff fabrics, including most denims and canvas, won’t drape correctly and should be avoided for this application.
Can I Add a Flutter Sleeve to an Existing Garment?
Yes. Remove the original sleeves if the garment has them, measure the existing armhole carefully, and draft a new flutter sleeve pattern to match that measurement. This approach works particularly well for refreshing or upcycling older tops and dresses.
How Do I Keep a Flutter Sleeve From Looking Bunched or Puckered?
Bunching and puckering on a flutter sleeve usually come down to two things: skipping the stay-stitching step and not clipping the curved seam allowance frequently enough. Clip small notches every half inch along the curve before attaching the sleeve, always stay-stitch the inner curve first, and press the seam carefully after stitching.
Do I Need a Serger to Sew Flutter Sleeves?
No. A serger is useful for finishing seams cleanly, but it’s not required. A standard sewing machine with a zigzag stitch can finish the seam allowance perfectly well. For the outer hem, a narrow rolled hem sewn on a regular machine is a common and effective technique.
How Long Should a Flutter Sleeve Be?
Flutter sleeve length typically ranges from three to six inches, measured from the shoulder seam to the outer edge of the sleeve. Shorter flutters suit casual tops and children’s garments; longer versions tend to complement flowing dresses and looser blouse styles. There’s no single correct length—it depends on the garment and the look you’re going for.
Start Sewing Your Flutter Sleeve Today
Once you’ve sewn a few flutter sleeves, you’ll start seeing them everywhere—and noticing which garments could benefit from them. The technique is transferable, the results are consistently satisfying, and the learning curve levels off quickly once you’ve worked through the curves a few times.
Start with an inexpensive, beginner-friendly fabric like rayon challis. Get comfortable with the steps. Then move on to your dream project with the confidence that comes from having already done it once. Thanks for reading this guide on how to sew a flutter sleeve.

About
Bennie Wilder is a dedicated figure in the world of sewing, clothing repair, and garment care, with years of hands-on experience exploring practical techniques for making, repairing, and maintaining everyday clothing. His professional focus lies in combining traditional sewing craftsmanship with modern, easy-to-follow solutions, helping readers confidently handle common clothing problems at home. As an author at SewFixes, Bennie shares practical knowledge on sewing techniques, garment alterations, fabric care, clothing repairs, and DIY projects for beginners and experienced sewing enthusiasts alike.
Education
Fashion Institute of Technology (New York, USA)
Associate Degree in Fashion Design & Apparel Studies
- Focused on garment construction, sewing techniques, fabric fundamentals, and clothing alterations.
- Developed practical skills in pattern making, hand stitching, machine sewing, and garment finishing.
- Gained hands-on experience working with different fabrics, sewing tools, and apparel construction methods.
Academy of Art University (San Francisco, USA)
Bachelor’s in Fashion Design
- Specialized in apparel construction, textile selection, garment fitting, and contemporary clothing design.
- Studied the relationship between fabric properties, garment structure, durability, and comfort.
- Participated in practical design projects involving garment creation, alterations, repairs, and sustainable clothing practices.
Publications and Impact
Through SewFixes, Bennie shares practical insights into sewing, clothing repair, fabric care, garment alterations, and everyday DIY solutions. His writing focuses on turning complicated sewing tasks into simple, understandable steps that readers can follow at home.
Bennie covers everything from repairing torn seams and replacing buttons to fixing hems, adjusting garment fit, choosing suitable fabrics, and maintaining sewing machines and tools. His content is designed to help readers become more confident with their clothing while encouraging practical repair and reuse instead of unnecessary replacement.
Through his work, Bennie aims to bridge the gap between traditional sewing knowledge and modern everyday needs—making sewing more approachable, useful, and accessible to anyone who wants to repair better, sew smarter, and make their clothes last longer.