

A halter dress is one of those pieces that looks effortlessly chic yet feels surprisingly simple once you understand the steps.
Learning how to sew a halter dress gives you the power to create a garment that fits your body perfectly, matches your style, and costs a fraction of store prices.
Whether you want something breezy for summer or elegant for an evening out, this project welcomes beginners with open arms.
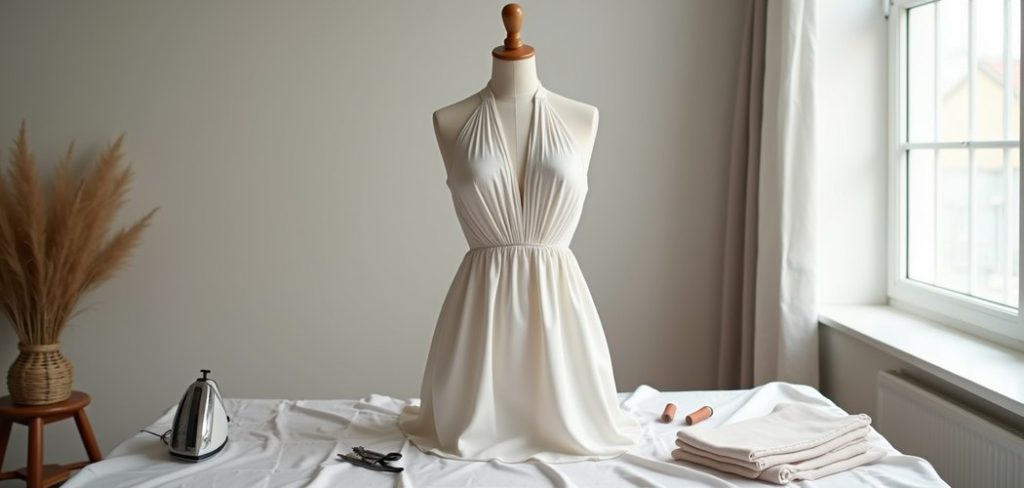
The beauty of this dress lies in its clean lines and minimal fastenings, which means fewer complicated techniques to master. You will work with straps that tie or fasten behind the neck, a fitted bodice, and a flowing or structured skirt depending on your taste.
Along the way, you will practice measuring, cutting, and stitching skills that carry over to countless future projects. With a little patience and the right guidance, you will finish with a dress you feel proud to wear and even prouder to say you made yourself.
Why Sewing A Halter Dress Matters
Sewing your own halter dress is more than a creative hobby, it is a genuine skill-builder that pays off in confidence and wardrobe freedom. You gain full control over fabric, color, and fit, so nothing pulls, gaps, or feels uncomfortable the way ready-made clothing sometimes does.
There is also real satisfaction in wearing something no one else has. A handmade dress reflects your personality and adapts to your exact measurements, which is especially helpful if standard sizes rarely work for you.
Beyond that, each project sharpens your abilities and reduces costly mistakes over time.
You save money, cut down on waste, and build a practical talent you can return to whenever inspiration strikes or a special occasion calls for something unique.
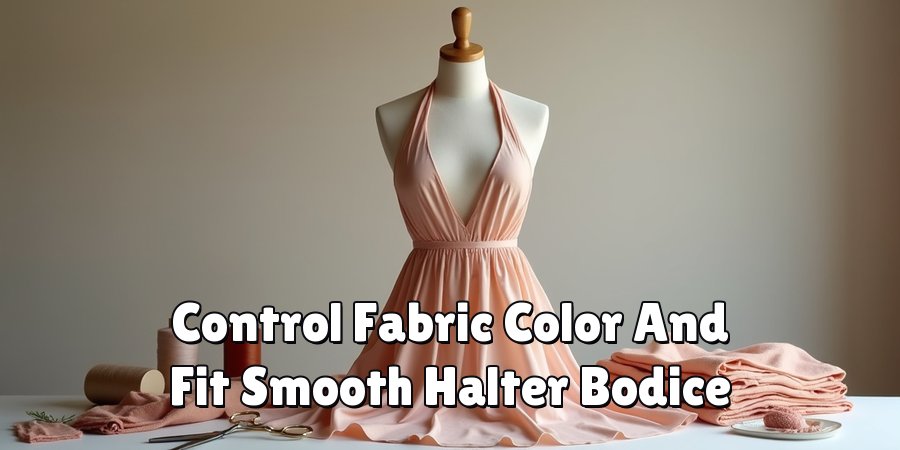
Step-by-Step Guide To How To Sew A Halter Dress
Step 1: Gather Your Materials And Tools
Before you begin, set yourself up for success by collecting everything you need in one place.
Choose a lightweight, drapey fabric like cotton, rayon, or a soft knit if you are just starting out, since these materials forgive small errors and press easily.
You will also want matching thread, sewing pins, fabric scissors, a measuring tape, and a sewing machine in good working order.
Having your tools ready prevents frustrating mid-project pauses and keeps your focus on learning. Lay everything out on a clean, flat surface so you can reach each item quickly. A little preparation now makes every following step smoother and far more enjoyable.
Step 2: Take Accurate Body Measurements
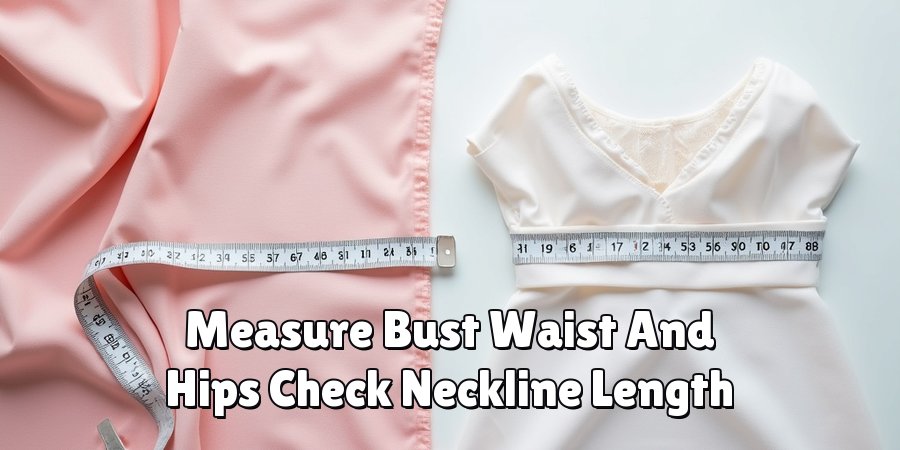
Precise measurements form the foundation of a dress that fits beautifully, so take your time here. Measure your bust, waist, and hips, then note the length you want from the neckline down to the hem. Write each number down and double-check it, because a small error at this stage can affect the entire garment.
If possible, ask a friend to help hold the tape level and snug without pulling too tight. Comfortable accuracy is the goal. Keep these numbers close by throughout the project, since you will reference them when drafting your pattern and adjusting seams. Good measurements save you from unpicking stitches later.
Step 3: Draft Or Choose Your Pattern
With your measurements ready, decide whether to use a store-bought pattern or draft a simple one yourself. Beginners often find printed patterns reassuring because they include clear markings and seam allowances. If you feel adventurous, sketch a basic bodice and skirt shape on pattern paper using your numbers as a guide.
Learning how to sew a halter dress becomes far easier when your pattern reflects your real body rather than a generic size chart. Add roughly half an inch for seam allowance around each edge, and mark where the straps will attach. Take a moment to review your pattern before cutting anything.
Step 4: Cut Out Your Fabric Pieces
Now transfer your pattern onto the fabric with confidence. Fold the fabric neatly, pin your pattern pieces in place, and make sure the grain runs correctly so the dress hangs properly once finished. Trace around each piece with tailor’s chalk before cutting for cleaner, more accurate edges.
Cut slowly and follow your marked lines carefully, keeping the fabric flat to avoid uneven shapes. Remember to cut the bodice front, back, skirt panels, and straps according to your pattern.
Rushing this stage often leads to mismatched pieces, so treat cutting as an important part of the process rather than a chore to hurry through.
Step 5: Sew The Bodice And Straps
Begin assembling by stitching the bodice pieces together along the side seams with right sides facing each other.
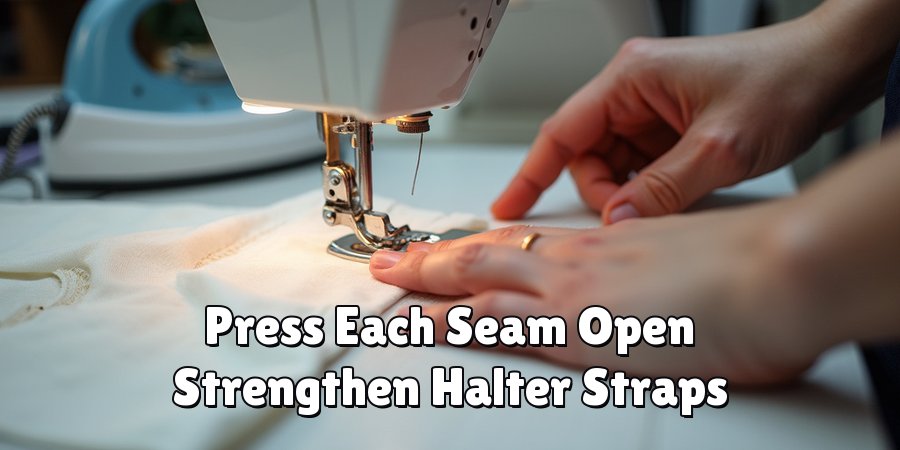
Press each seam open as you go, because pressing gives your dress a polished, professional finish that stitching alone cannot achieve.
Next, create the halter straps by folding each strip lengthwise, sewing along the edge, and turning them right side out.
Attach the straps securely to the top of the bodice front, then test them around your neck to confirm the length feels comfortable. This is the heart of how to sew a halter dress, so work slowly and reinforce these seams for lasting strength and support.
Step 6: Attach The Skirt To The Bodice
With the bodice complete, join it to the skirt for the dress to truly take shape. Gather or pleat the top edge of the skirt if you want fullness, distributing the fabric evenly so no section bunches awkwardly. Pin the skirt to the bottom of the bodice with right sides together, matching side seams carefully.
Stitch around this waistline seam, then press it toward the skirt for a smooth transition. Try the dress on at this point to check the fit through the waist and hips. Making small adjustments now is far easier than reworking finished seams once everything is fully assembled.
Step 7: Finish The Hem And Add Closures
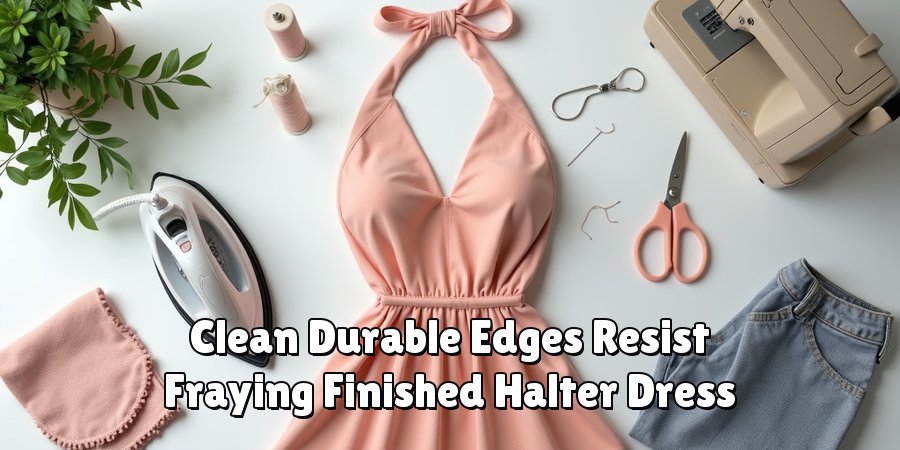
The final step brings your dress together with clean, durable edges. Fold the hem under twice, press it, and stitch all the way around for a neat finish that resists fraying. Do the same along any raw edges near the neckline or armholes so the garment looks tidy inside and out.
If your design includes a zipper or tie closure, add it now and test how easily you can put the dress on and take it off. Give the whole piece a final press, snip any loose threads, and admire your work. You have just completed a wearable, handmade halter dress.
Frequently Asked Questions
What Fabric Works Best For Beginners?
Soft, medium-weight fabrics like cotton, rayon, or a stable knit are ideal for first-time sewists. These materials are easy to cut, pin, and stitch without slipping around under your machine.
They also press well, which helps your seams look crisp. Avoid slippery satins or heavy denim early on, since they demand more control and can make the learning process feel unnecessarily difficult.
How Long Does This Project Usually Take?
Most beginners complete a halter dress over a weekend, spending roughly six to ten hours total. Your pace depends on your comfort with measuring, cutting, and stitching.
Breaking the work into shorter sessions helps you stay focused and reduces mistakes caused by fatigue.
As you gain experience, you will move faster and feel more confident tackling each stage without pausing to double-check every detail.
Do I Need An Expensive Sewing Machine?
Not at all. A basic, reliable machine with straight and zigzag stitches handles this project comfortably. Expensive features are helpful for advanced work, but they are far from necessary for a simple dress.
Focus instead on keeping your machine clean, threaded correctly, and fitted with a fresh needle. A well-maintained budget machine often outperforms a fancy one that has been neglected.
How Do I Make Sure The Dress Fits Well?
Accurate measurements and regular fitting checks are your best friends here. Try the dress on after assembling the bodice and again after attaching the skirt, adjusting seams before finalizing them.
Adding a small seam allowance gives you room to take pieces in if needed. Fitting as you go prevents disappointment and lets you correct issues while changes are still quick and easy to make.
Can I Customize The Design Easily?
Absolutely, and that is one of the greatest joys of sewing your own clothes. You can lengthen the skirt, add pockets, widen the straps, or choose a bold print that reflects your style.
Small tweaks to a basic pattern let you create a dress that feels entirely yours. Experimenting freely also builds your skills and confidence for more ambitious projects down the road.
Conclusion
Creating a garment from scratch might feel intimidating at first, but as you have seen, understanding how to sew a halter dress simply comes down to following clear, manageable steps.
From gathering your materials and taking careful measurements to attaching the skirt and finishing the hem, each stage builds naturally on the last.
With patience and practice, even a complete beginner can produce a dress that fits beautifully and looks wonderfully professional.
Now it is your turn to bring this project to life. Choose a fabric you love, set aside a little time, and enjoy the satisfying process of making something with your own hands.
Every stitch sharpens your skills and brings you closer to a wardrobe filled with pieces that are truly yours. Grab your supplies, trust the process, and start sewing today.

The Sew Fixes team — we mend our own clothes and write down what worked. Every guide here started as a repair on something we were not ready to throw away.