

An A-line dress is a timeless silhouette that fits snugly at the shoulders or waist and gently widens toward the hem, forming the shape of a capital letter A.
It flatters nearly every body type, which is why it remains a favorite for beginners and seasoned makers alike.
Learning how to sew a line dress gives you a versatile wardrobe staple you can wear to work, weddings, or a relaxed weekend outing, all stitched by your own two hands.
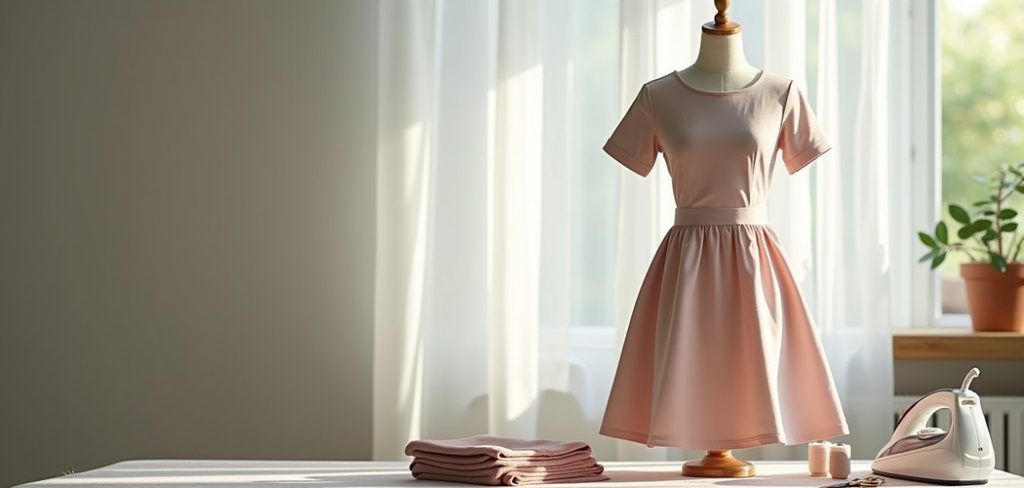
Why does this matter? Store-bought dresses rarely fit exactly right, and they often cost far more than a few yards of fabric. When you sew your own, you control the length, the neckline, the fabric, and the fit down to the smallest detail.
You also build real, transferable skills along the way. Think of this guide as your friendly workshop, where every step is broken down into plain language so you never feel lost.
By the end, you will have a beautiful dress and the confidence to make many more.
Why Sewing An A-Line Dress Matters
Making your own dress hands you freedom that racks of ready-made clothing simply cannot match. You pick the fabric, adjust the length, and shape a fit that suits your body, which means fewer awkward gaps and far more flattering lines. That customization turns a basic project into something genuinely yours.
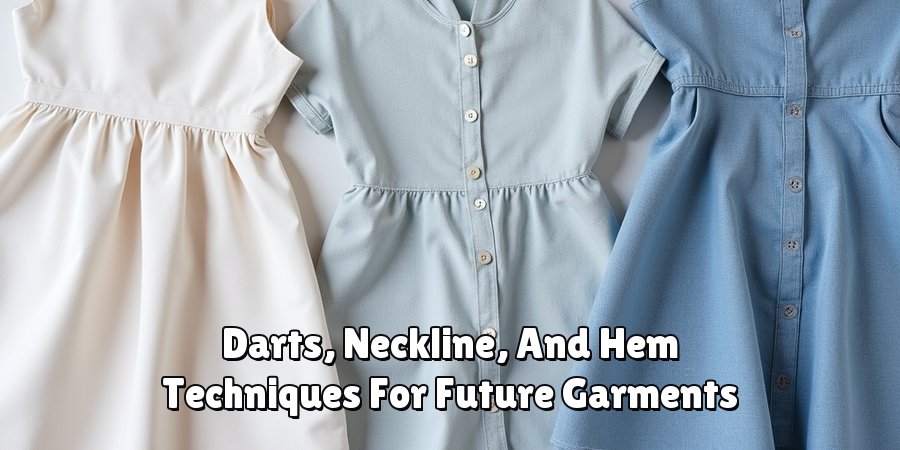
There is a skill-building reward too. This project teaches you to work with darts, set in a neckline, and finish a hem cleanly, techniques that carry over to countless future garments.
You save money as well, since fabric costs less than a boutique piece. Best of all, finishing a dress this classic builds real confidence.
Each seam reassures you that bigger projects are well within reach, one stitch at a time.
Step-By-Step Guide To How To Sew A Line Dress
Step 1: Take Accurate Measurements
before you touch your fabric, grab a soft tape measure and record your bust, waist, hips, and the length you want from shoulder to hem. accuracy here saves you hours of frustration later, so measure twice and write everything down.
stand naturally and keep the tape snug but not tight for the truest numbers. if you can, ask a friend to help with the back measurements.
these figures become the blueprint for your entire project, so treat this stage as the calm, careful foundation everything else rests upon.
Step 2: Choose The Right Fabric
your fabric choice shapes how the finished dress drapes and moves. beginner-friendly cottons, linen blends, and chambray hold their shape and glide easily under the needle, making them forgiving for a first attempt.
avoid slippery satins or very thin jersey early on, since they shift while you cut and stitch. buy a little extra to allow for mistakes and hem adjustments.
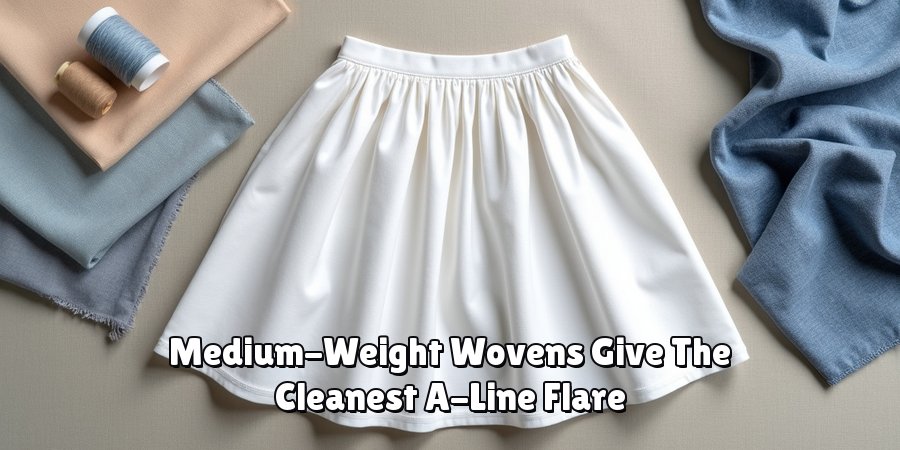
medium-weight woven fabrics give you the cleanest A-line flare and the most flattering structure, so reach for those while you build your skills and grow comfortable at the machine.
Step 3: Prepare Your Pattern
now translate your measurements into a pattern. you can use a printable template or trace a dress you already love, adjusting the width so it flares gently from the waist toward the hem.
mark your bust, waist, and hip points clearly, then extend the side seams outward to create that signature A shape. add a seam allowance of about five-eighths of an inch around every edge.
take your time here, because a careful pattern means clean cuts and a smooth build later. double-check that your front and back pieces mirror each other correctly.
Step 4: Cut Your Fabric Pieces
fold your fabric in half with right sides together so you cut matching pieces at once. pin your pattern securely, lining the grainline up with the weave for the best drape and hang.
cut slowly with sharp shears, following your marked lines exactly rather than rushing. hurried cutting leads to uneven edges that show in the final fit.
transfer any darts and notches with tailor’s chalk so assembly stays simple.
keep your pieces flat and organized on your work surface, and you will thank yourself when it comes time to pin and sew everything together.
Step 5: Sew The Darts And Side Seams
start by stitching the darts, which give your dress its gentle curve and shape around the bust and waist. press them toward the center for a crisp, professional look.
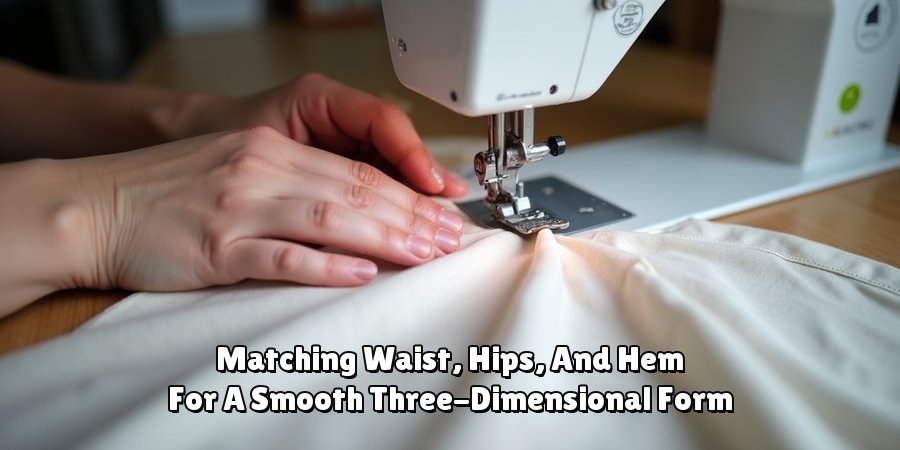
next, pin the front and back pieces right sides together along both side seams, matching the waist, hips, and hem carefully.
sew from the underarm down to the hem with a steady straight stitch, keeping your seam allowance consistent.
mastering how to sew a line dress really clicks at this stage, when the flat panels suddenly take on their soft, flowing three-dimensional form.
Step 6: Finish The Neckline And Armholes
these edges frame your dress, so give them calm, focused attention. you can use bias tape or a simple facing to finish the neckline and armholes cleanly, hiding the raw fabric for a polished result.
pin generously and stitch slowly around the curves, clipping the seam allowance so it lies flat without puckering. press as you go to keep everything smooth.
a neat neckline and tidy armholes lift the whole garment from homemade to handmade, so resist the urge to rush toward the finish line at this important point.
Step 7: Hem And Final Touches
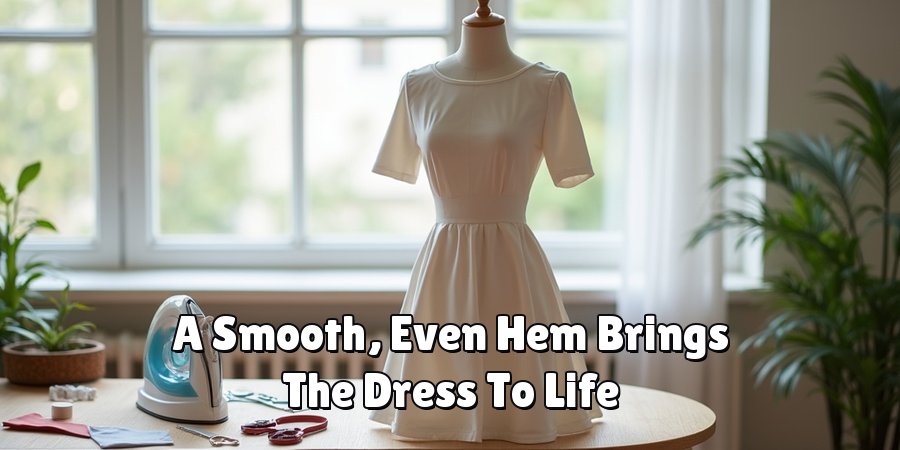
the final step brings your dress to life. try it on first and mark your ideal length while wearing it, since an A-line hem can hang unevenly across the flare.
fold the raw edge under twice to conceal it, pin all the way around, and stitch a neat, even hem. press everything one last time to sharpen the seams and set your stitches.
when you learn how to sew a line dress from start to finish like this, you gain a repeatable process you can adapt endlessly for future creations.
Frequently Asked Questions
How Long Does This Project Take?
Most beginners finish in a single afternoon or across two short sessions, roughly three to five hours total. Your speed depends on your fabric and whether you add features like a zipper or lining.
Cutting and pinning take more time than you might expect, so do not rush them. As you gain confidence with each project, the whole process becomes noticeably faster and far more enjoyable.
What Fabric Works Best For Beginners?
Medium-weight woven fabrics like cotton, linen blends, and chambray are the friendliest choices for first-timers. They hold their shape, glide smoothly under the needle, and forgive small fitting mistakes.
Avoid slippery or very thin fabrics such as silk or lightweight jersey at the start, since they shift while cutting and complicate stitching.
Once you feel comfortable, branch out into softer, drapier fabrics for a more elegant, flowing look.
Do I Need A Special Sewing Machine?
Not at all. A basic home machine with a straight stitch and a zigzag stitch handles this project perfectly. The zigzag helps finish raw edges so they do not fray after washing.
A serger creates tidy professional seams, but it is entirely optional.
Use a fresh universal needle suited to your fabric weight, since a sharp needle glides cleanly through the layers and prevents skipped stitches or snags.
How Do I Get An Even Hem?
An even hem starts with an accurate pattern and consistent seam allowances, so measure carefully from the beginning.
Because an A-line flare can hang differently once worn, always try the dress on before hemming and mark the length while standing. Let the fabric relax for a day if it is heavier.
Then pin all the way around, double-check with a ruler, and stitch slowly for a smooth, balanced finish.
Can I Adjust The Fit After Sewing?
Yes, though planning the fit correctly upfront is always easier. If the dress feels too loose, you can take in the side seams gradually until it sits right.
If it feels tight, a little extra seam allowance may be released, so avoid trimming too much early on.
Save your pattern and scraps, and keep notes on what worked, which makes refining the fit on your next dress far simpler.
Conclusion
Creating an A-line dress from scratch is far more approachable than it first appears, and this guide has walked you through every stage with clear, friendly steps.
You began by taking careful measurements and choosing a forgiving fabric, then prepared your pattern, cut your pieces, and stitched the darts and side seams into that gentle, flattering shape.
From there you finished the neckline and armholes cleanly and completed a smooth, even hem.
Each step built naturally on the one before, turning flat fabric into a garment shaped precisely to your body and your personal taste, while teaching you techniques you will reuse for years to come.
Now that you understand how to sew a line dress, the only thing left is to gather your supplies and begin.
Do not worry about making it perfect on your first attempt, because every seam teaches you something new and every finished piece grows your confidence.
Start with a simple cotton, work at your own pace, and celebrate the small wins as your dress takes shape.
When you slip it on and admire that clean, classic silhouette, you will feel the true reward of handmade craftsmanship. So clear your workspace, thread your machine, and give it a go today.

About
Bennie Wilder is a dedicated figure in the world of sewing, clothing repair, and garment care, with years of hands-on experience exploring practical techniques for making, repairing, and maintaining everyday clothing. His professional focus lies in combining traditional sewing craftsmanship with modern, easy-to-follow solutions, helping readers confidently handle common clothing problems at home. As an author at SewFixes, Bennie shares practical knowledge on sewing techniques, garment alterations, fabric care, clothing repairs, and DIY projects for beginners and experienced sewing enthusiasts alike.
Education
Fashion Institute of Technology (New York, USA)
Associate Degree in Fashion Design & Apparel Studies
- Focused on garment construction, sewing techniques, fabric fundamentals, and clothing alterations.
- Developed practical skills in pattern making, hand stitching, machine sewing, and garment finishing.
- Gained hands-on experience working with different fabrics, sewing tools, and apparel construction methods.
Academy of Art University (San Francisco, USA)
Bachelor’s in Fashion Design
- Specialized in apparel construction, textile selection, garment fitting, and contemporary clothing design.
- Studied the relationship between fabric properties, garment structure, durability, and comfort.
- Participated in practical design projects involving garment creation, alterations, repairs, and sustainable clothing practices.
Publications and Impact
Through SewFixes, Bennie shares practical insights into sewing, clothing repair, fabric care, garment alterations, and everyday DIY solutions. His writing focuses on turning complicated sewing tasks into simple, understandable steps that readers can follow at home.
Bennie covers everything from repairing torn seams and replacing buttons to fixing hems, adjusting garment fit, choosing suitable fabrics, and maintaining sewing machines and tools. His content is designed to help readers become more confident with their clothing while encouraging practical repair and reuse instead of unnecessary replacement.
Through his work, Bennie aims to bridge the gap between traditional sewing knowledge and modern everyday needs—making sewing more approachable, useful, and accessible to anyone who wants to repair better, sew smarter, and make their clothes last longer.