

Learning to sew a shrug might be the most satisfying beginner project you haven’t tried yet. It’s fast. The materials are cheap. And unlike some starter sewing projects—think patchwork quilts or fitted bodices—a shrug actually gets finished in a single afternoon. What you end up with is a layering piece that works over dresses, tank tops, or anything else in your wardrobe that needs just a little something extra.
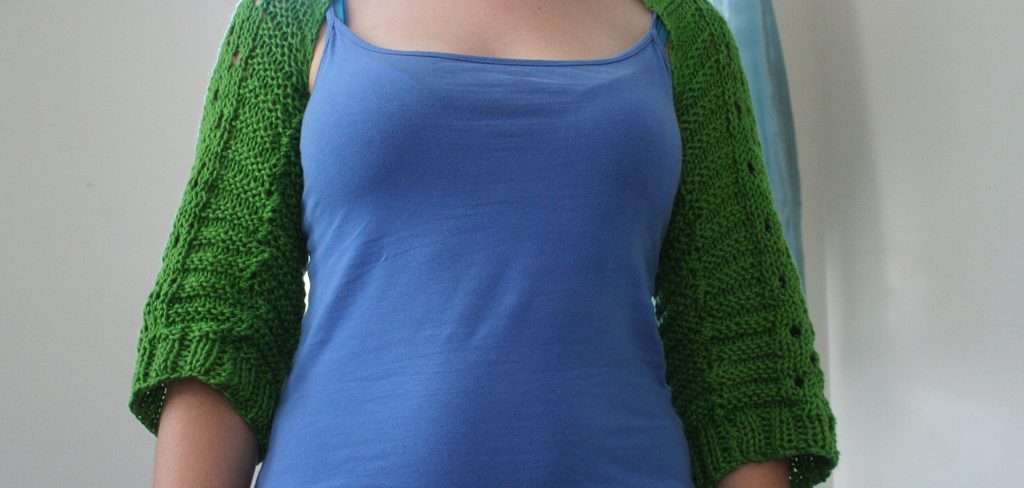
This guide on how to sew a shrug covers the full process, from measuring your fabric to pressing the final seams. You’ll also find a breakdown of the tools you’ll need, a list of the most common beginner mistakes (and how to sidestep them), and a few practical tips that tend to make a real difference in the finished result. No jargon, no intimidating pattern sheets—just a clear walkthrough of each step in sequence.
Tools and Materials Needed
Getting everything together before you start will save you the headache of stopping mid-seam to hunt for scissors. Here’s what you’ll need:
Fabric
Stretch knits, jersey, and lightweight cotton all work well for shrugs. Plan for about 1 to 1.5 yards, adjusting based on your size. Stiff or non-stretch fabrics tend to be a mistake here—they won’t drape the way this type of garment needs to.
Sewing Machine
A basic machine with a zigzag stitch is all you need. A serger (also called an overlock machine) makes finishing edges faster and neater, but it’s entirely optional if you don’t have one.
Thread
Match your thread to the fabric color, or get close to it. For anything stretchy, polyester thread is the better call—it has a little give and won’t snap when the fabric moves.
Measuring Tape
A flexible measuring tape, not a rigid ruler. You’ll be measuring your body and your fabric, and you need something that curves.
Fabric Scissors or Rotary Cutter
Sharp tools matter here. Dull scissors drag and fray the fabric edges, which creates extra work later. A rotary cutter paired with a cutting mat gives especially clean lines.
Pins or Fabric Clips
Either works. Fabric clips tend to be more practical for thicker or stretchier materials, since pins can distort those fabrics when you push them through.
Iron and Ironing Board
Pressing seams as you go—not just at the end—makes a noticeable difference in how the finished shrug looks. It’s one of those habits that separates tidy results from frustrating ones.
Elastic (Optional)
If you want a more fitted sleeve opening, a small length of half-inch elastic sewn into the cuff does the job well.
7 Simple Steps on How to Sew a Shrug
Step 1: Take Your Measurements
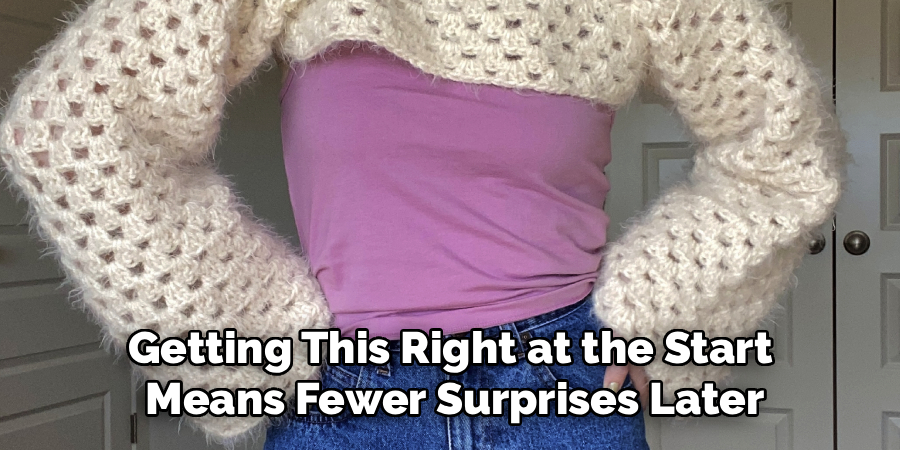
Measure your shoulder width, your arm length from shoulder to wrist, and your back width. These three numbers drive everything else. Write them down, then add about an inch to each to account for seam allowances. Getting this right at the start means fewer surprises later.
Step 2: Cut Your Fabric
A basic shrug begins as a rectangle—simpler than most people expect. The width should be long enough to span both arms when they’re fully extended. The height needs to be tall enough to wrap across your back and cover your shoulders. For a medium, a common starting size is roughly 50 inches wide by 20 inches tall, though you should always adjust from your own measurements rather than defaulting to a standard size. Cut clean, straight lines using your scissors or rotary cutter.
Step 3: Fold and Mark the Fabric
Fold the rectangle in half widthwise, bringing the two short ends together. That fold line is your center back. From the folded edge, mark about 8 to 10 inches on each side using fabric chalk or a washable marker—these sections will become your sleeves. The section left unmarked in the middle forms the back panel. Clear markings here genuinely help; it’s easy to get confused once you start sewing if you’re working from memory.

Step 4: Sew the Sleeve Seams
Keep the fabric folded, right sides together, and sew along the marked lines on each side. Use a straight stitch for woven fabrics; switch to a zigzag or stretch stitch if you’re working with jersey or any knit. Backstitch at the start and end of each seam to keep them from unraveling. When both seams are sewn, you’ll have two tube-like sleeves flanking an open back section—and the basic shape of your shrug is already visible.
Step 5: Finish the Raw Edges
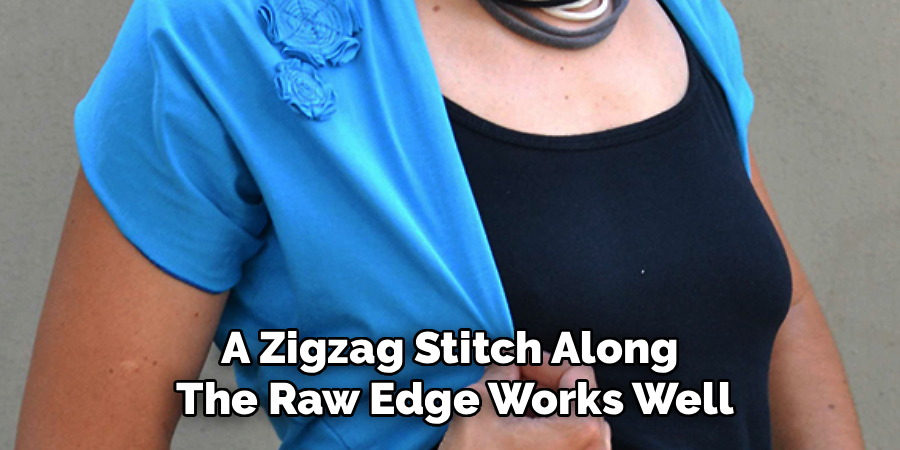
Raw edges fray. Over time, that fraying works its way into the seams, weakening them. There are a few ways to deal with this: a serger handles it in one pass; a zigzag stitch along the raw edge works well on a standard machine; folding the edge over twice and topstitching gives a clean, polished hem. The center back opening and the bottom edges of the shrug all need attention here. It may feel like a slow step, but this is largely what determines whether the final shrug looks handmade or hand-crafted.
Step 6: Add the Cuffs or Hem the Sleeves
Turn the shrug right side out and put it on to check the sleeve length before you commit to hemming. Trim if necessary. To hem without elastic, fold the raw edge over about half an inch and sew it down. To add elastic, fold the edge over about three-quarters of an inch instead, sew along the bottom, and leave a small gap to thread the elastic through. Feed the elastic in, overlap the ends, stitch them together, then close the gap. The casing method sounds fiddly the first time—it becomes second nature quickly.
Step 7: Press and Try On
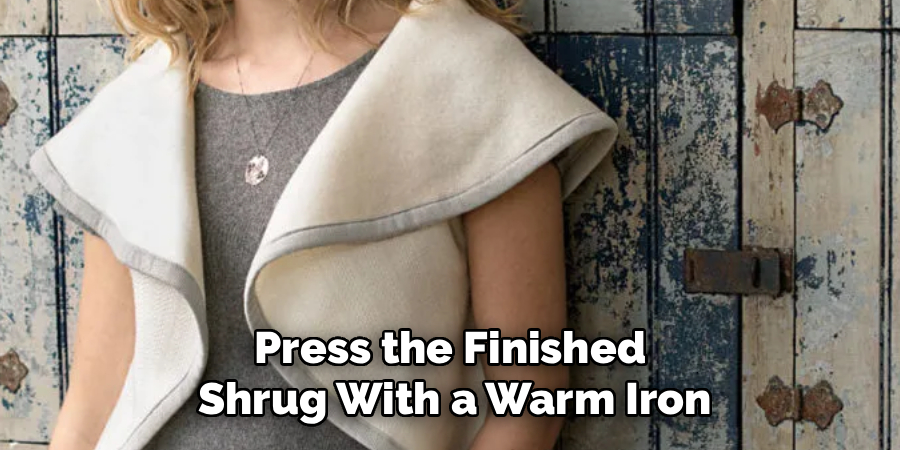
Press the finished shrug with a warm iron, paying close attention to the seams and hems. This is one of those steps that beginners tend to skip and later wish they hadn’t. Pressing smooths out any puckering from the sewing process and gives the garment a much neater overall appearance. Try it on, assess the fit, and make any small tweaks before calling it done.
Following these steps on how to sew a shrug, you will have a stylish and versatile piece for your wardrobe.
Common Mistakes to Avoid
A few specific errors come up again and again with this project, and most of them are avoidable with a bit of advance warning.
Skipping the pressing step between stages is probably the most common. The result is puckered seams and a garment that looks unfinished despite perfectly good stitching. Pressing takes a few extra minutes per stage—it’s worth those minutes.
Cutting without accounting for seam allowances is another frequent problem. A shrug that seemed perfectly sized on paper ends up too small to wear because the seam allowances weren’t added before cutting. Always add at least half an inch, ideally an inch, on each side.
Using a straight stitch on stretch fabric is a mistake that tends to reveal itself the first time you actually wear the shrug. Stretch fabric moves; a straight stitch doesn’t. The seam snaps under tension. If there’s any doubt about what stitch to use, default to a zigzag.
Tips for the Best Results
Pre-wash your fabric before cutting. Fabrics—especially cotton and jersey—can shrink after the first wash, sometimes significantly. If you cut and sew first, that shrinkage distorts the fit in ways that are difficult to fix after the fact.
Pin or clip generously. The more the fabric is held in place, the straighter the seams. Beginners often under-pin and then wonder why the fabric shifted.
For stretch fabrics that tend to stretch and warp under the sewing machine’s feed dogs, try laying a strip of tissue paper under the fabric as you sew. The feed dogs grip the paper rather than pulling the fabric, and you simply tear the tissue away once the seam is finished. It’s an old trick, and it works.
Frequently Asked Questions
What Is the Best Fabric for a Beginner Sewing a Shrug?
Jersey knit and cotton fleece are two of the most forgiving options for a first shrug. Jersey in particular is widely available, drapes well, and doesn’t require a lining. It may stretch slightly under the machine if you’re new to sewing knits, but the tissue paper trick (described above) largely solves that.
How Long Does It Take to Sew a Shrug?
Most beginners finish a basic shrug in two to three hours, including cutting and pressing time. Working with a serger for edge finishing can shorten that. A version with ribbed cuffs or any decorative detail will take somewhat longer, though it’s still a manageable single-session project for most people.
Can I Sew a Shrug by Hand Without a Sewing Machine?
Hand-sewing a shrug is possible, though it takes considerably longer than using a machine. A backstitch creates the most durable hand-sewn seam and is the right choice for the sleeve seams. For finishing raw edges without a machine, a whipstitch or blanket stitch along the edge helps prevent fraying, though neither is as secure as an overlocked edge.
Do I Need a Pattern to Sew a Shrug?
No. A basic shrug starts as a single rectangle of fabric, which means you’re cutting from your own measurements rather than tracing a printed pattern. This is actually one of the reasons it’s such a good beginner project—there’s no pattern matching, no complex shaping, and no curved seams to navigate.
How Much Fabric Do I Need for a Shrug?
Plan for 1 to 1.5 yards of fabric, depending on your size and the length of the sleeves you want. If you’re between sizes or working with a directional print that needs to be matched at the center back, buy a little extra. Running short of fabric mid-project is a frustrating situation that’s easy to avoid.
Wrap Up Your First Shrug With Confidence
Sewing a shrug rewards effort quickly. There’s no advanced skill requirement, no extensive supply list, and the steps on how to sew a shrug are genuinely learnable in a single session. What tends to separate a shrug that looks great from one that looks rushed isn’t technique—it’s the small habits: pressing between stages, pre-washing the fabric, pinning more than feels necessary.
Start with a fabric you like the feel of. Follow the steps in order. Don’t skip the pressing. By the time you’re trying on the finished result, you’ll likely already be thinking about what fabric to use for the next one.

About
Bennie Wilder is a dedicated figure in the world of sewing, clothing repair, and garment care, with years of hands-on experience exploring practical techniques for making, repairing, and maintaining everyday clothing. His professional focus lies in combining traditional sewing craftsmanship with modern, easy-to-follow solutions, helping readers confidently handle common clothing problems at home. As an author at SewFixes, Bennie shares practical knowledge on sewing techniques, garment alterations, fabric care, clothing repairs, and DIY projects for beginners and experienced sewing enthusiasts alike.
Education
Fashion Institute of Technology (New York, USA)
Associate Degree in Fashion Design & Apparel Studies
- Focused on garment construction, sewing techniques, fabric fundamentals, and clothing alterations.
- Developed practical skills in pattern making, hand stitching, machine sewing, and garment finishing.
- Gained hands-on experience working with different fabrics, sewing tools, and apparel construction methods.
Academy of Art University (San Francisco, USA)
Bachelor’s in Fashion Design
- Specialized in apparel construction, textile selection, garment fitting, and contemporary clothing design.
- Studied the relationship between fabric properties, garment structure, durability, and comfort.
- Participated in practical design projects involving garment creation, alterations, repairs, and sustainable clothing practices.
Publications and Impact
Through SewFixes, Bennie shares practical insights into sewing, clothing repair, fabric care, garment alterations, and everyday DIY solutions. His writing focuses on turning complicated sewing tasks into simple, understandable steps that readers can follow at home.
Bennie covers everything from repairing torn seams and replacing buttons to fixing hems, adjusting garment fit, choosing suitable fabrics, and maintaining sewing machines and tools. His content is designed to help readers become more confident with their clothing while encouraging practical repair and reuse instead of unnecessary replacement.
Through his work, Bennie aims to bridge the gap between traditional sewing knowledge and modern everyday needs—making sewing more approachable, useful, and accessible to anyone who wants to repair better, sew smarter, and make their clothes last longer.