

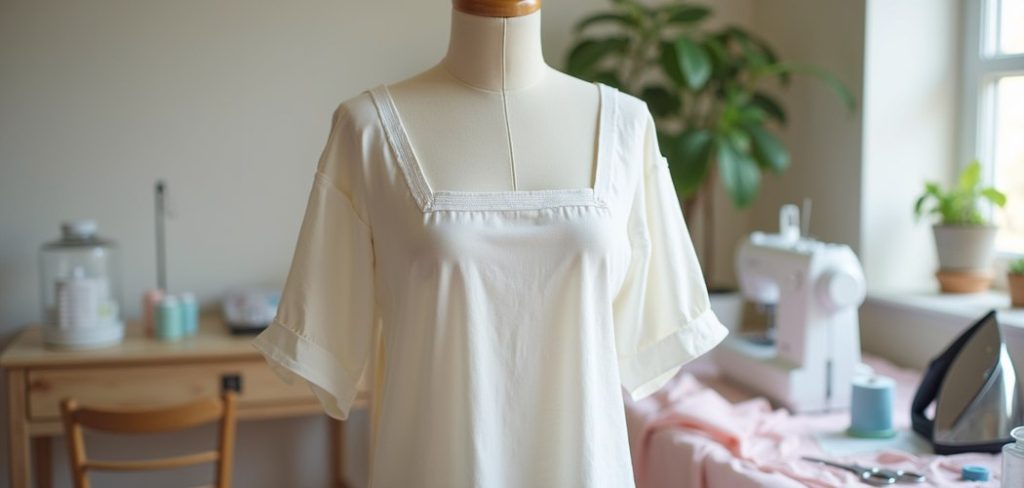
A crisp, clean square neckline can turn a simple dress or top into something that looks handmade in the best possible way. It frames the collarbones beautifully, feels timeless, and works across so many styles, from summer sundresses to structured blouses.
If you have ever admired that sharp, geometric shape and wondered how to sew a square neckline without puckering or wonky corners, you are in exactly the right place.
This guide breaks the whole process down into clear, doable steps that anyone can follow, no matter your skill level.
You do not need years of experience or fancy equipment to get a professional finish. What you need is a little patience, a few basic tools, and a friendly walkthrough that explains each stage in plain language.
We will cover why this neckline is worth learning, what supplies to gather, and how to handle those tricky corners with confidence.
By the end, you will feel ready to tackle your next project and enjoy every stitch along the way.
Why Sewing A Square Neckline Matters
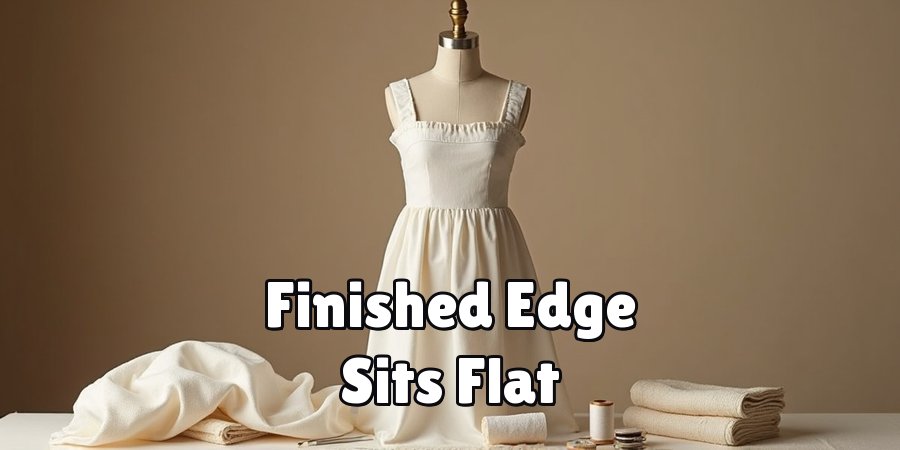
A square neckline is more than a style choice. Learning it well gives you a versatile skill you can reuse across countless patterns, which saves money and builds real confidence at your machine. The clean lines flatter many body types, and the finished edge sits flat and comfortable against the skin when done correctly.
Mastering the technique also teaches you core skills that transfer everywhere, like clipping curves, understanding seam allowances, and pressing for crisp results. These fundamentals make every future project easier.
Best of all, a neat square neckline instantly elevates the look of your garment, so your handmade pieces read as polished rather than homemade.
That kind of result keeps you motivated and eager to try new challenges.
Step-by-Step Guide To How To Sew A Square Neckline
Step 1: Gather Your Tools And Fabric
Before you start, set yourself up for success by collecting everything you need in one place. Grab your main fabric, matching thread, a pair of sharp scissors, pins or clips, a fabric marker, and an iron. A facing or bias tape will finish the raw edge neatly, so decide which method suits your project.
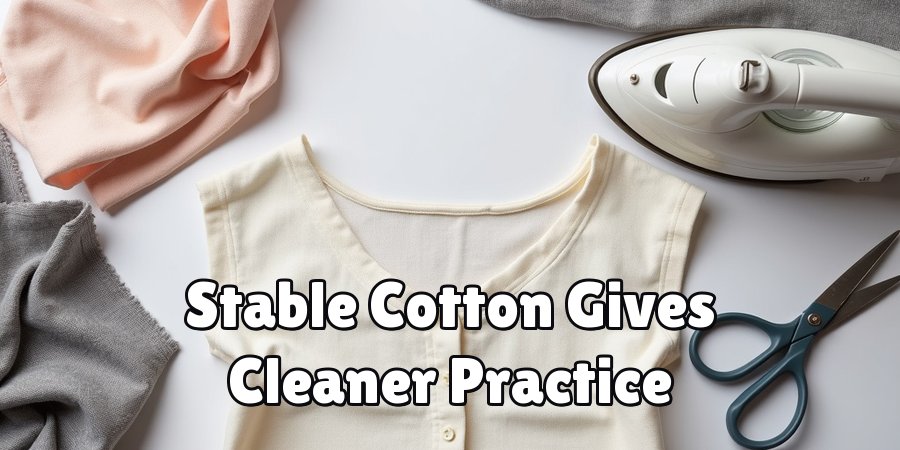
Having your workspace ready reduces mistakes and keeps you focused. Choose a fabric that presses well, since crisp corners depend on good pressing. If you are a beginner, a stable cotton is far more forgiving than something slippery, and it gives you cleaner practice results.
Step 2: Measure And Mark The Neckline
Accuracy at this stage shapes your entire result, so take your time here. Lay your garment piece flat and use your pattern to mark the exact neckline shape, paying close attention to where the corners fall. A fabric marker or tailor’s chalk works well, and light, clear lines are easier to follow.
Mark your seam allowance too, usually around three eighths of an inch, and note the corner points precisely. These corner marks act as your roadmap later. Double check both sides so the neckline stays symmetrical, because even a small difference will show once the garment is finished and worn.
Step 3: Prepare And Attach The Facing
The facing is what gives your neckline a clean, hidden finish on the inside. Cut it to match your neckline shape, then finish its outer edge so it will not fray over time. Press it flat before you begin, since a well pressed facing makes everything easier.
Place the facing against the right side of your fabric, lining up the neckline edges carefully, and pin or clip them together. Match those corner marks exactly. This is the heart of how to sew a square neckline, so work slowly and keep your layers smooth and aligned before you head to the machine.
Step 4: Stitch Around The Neckline
Now you get to sew, and steady hands pay off here. Start at one edge and stitch along your marked seam line, keeping your allowance consistent all the way around. When you reach a corner, stop with your needle down, lift the presser foot, and pivot the fabric to change direction.
That pivot is the secret to sharp, square corners rather than rounded ones. Take one or two small stitches right at the point to reinforce it, since corners take strain. Sew at a calm, moderate pace and check that your stitching stays smooth and even across both layers as you go.
Step 5: Clip The Corners Carefully
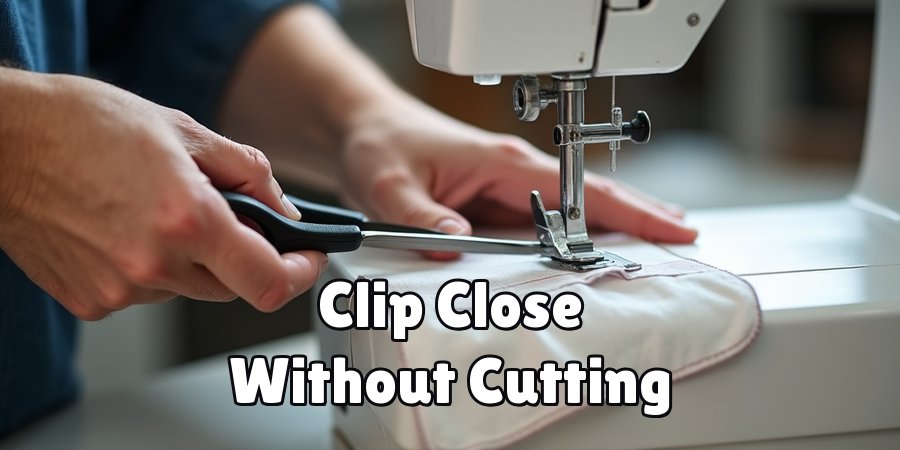
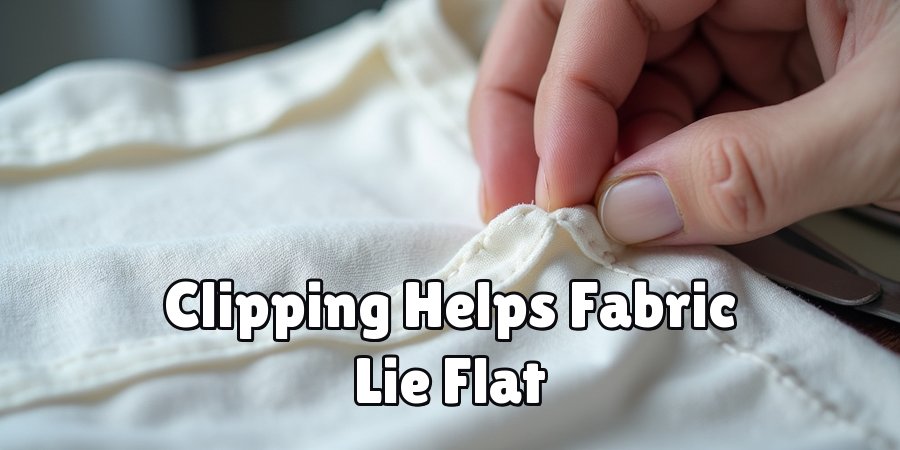
This step transforms bulky, awkward corners into crisp, professional points. Using sharp scissors, clip diagonally into each inner corner, snipping close to your stitching without actually cutting through it. This releases tension so the fabric can lie flat once turned.
Go slowly and clip just enough to relieve the pull. Cutting too far will weaken the seam, while not clipping enough leaves puckered corners, so aim for that careful middle ground.
Trimming excess seam allowance around the whole neckline also reduces bulk. When you master this small detail, your finished square neckline will look tailored and neat every single time.
Step 6: Turn And Press The Neckline
Pressing is where beginners often rush, but it truly makes or breaks your result. Gently turn the facing to the inside of the garment, using a blunt tool like a chopstick to push each corner out fully without poking through the fabric. Take your time so every point sits sharp.
Once turned, press the entire neckline flat with your iron, rolling the seam slightly toward the inside so the facing stays hidden. This is another key moment in learning how to sew a square neckline that looks store bought. A crisp press locks in those clean lines and gives your project that polished, finished appearance.
Step 7: Secure And Finish The Edge
The final step keeps your facing from flipping out during wear. You can understitch by sewing the seam allowance to the facing close to the seam line, which holds everything in place invisibly. Alternatively, topstitch around the neckline from the right side for a decorative, secure finish.
Choose whichever suits your fabric and style. Understitching stays hidden and looks clean, while topstitching adds a visible detail that many people love. Give the neckline one last press to set your stitches. Step back and admire your work, because you have just completed a neat, professional neckline from start to finish.
Frequently Asked Questions
What Fabric Works Best For A Square Neckline?
Stable fabrics like cotton, linen, or a firm poplin work beautifully because they hold a crisp shape and press well. These materials make corners sharper and pinning easier, which is ideal when you are learning.
Slippery or very stretchy fabrics are trickier since they shift and blur those clean lines. If you love a drapey fabric, add interfacing to the facing for extra support.
How Do I Stop My Corners From Puckering?
Puckering usually comes from skipping the clipping step or clipping unevenly. Snip diagonally into each inner corner, getting close to the stitching without cutting through it, so the fabric can relax and lie flat.
Pressing thoroughly after turning also helps enormously. Take your time at the corners, reinforce them with small stitches, and you will see a noticeable improvement in your finished result.
Do I Have To Use A Facing?
No, a facing is not your only option. Bias tape offers a lovely alternative, especially for lightweight garments, and it can create a soft, bound finish.
Some sewists prefer a lining that finishes the neckline in one step.
A facing simply gives a clean, hidden edge that many beginners find reliable, so choose the method that matches your fabric, pattern, and comfort level.
How Long Does This Project Usually Take?
Timing depends on your experience and the complexity of your garment.
A confident beginner might finish the neckline in around thirty to sixty minutes, while a first attempt could take a little longer with careful measuring and pressing.
Do not rush the process, since accuracy matters more than speed. With practice, you will find your rhythm and complete each neckline faster and more smoothly.
What If My Two Sides Look Uneven?
Uneven sides almost always trace back to marking and cutting, so revisit those stages first. Measure carefully, mark both corners precisely, and match your facing points before stitching.
If you notice a small difference after sewing, gentle pressing can sometimes help balance the look. For larger gaps, unpicking and restitching the affected corner is worth the effort for a clean, symmetrical finish.
Conclusion
Creating a beautiful square neckline comes down to patience, careful marking, and a few key techniques like pivoting at corners, clipping precisely, and pressing thoroughly.
Each step builds on the last, and once you understand the flow, the whole process feels natural and even enjoyable.
You now have a complete roadmap for how to sew a square neckline that looks clean, sharp, and professionally finished on any garment you choose.
The best way to build confidence is simply to start. Gather your tools, pick a forgiving fabric, and give it a try on your next project.
Every neckline you sew will feel easier than the last, and soon this skill will become second nature.
So set up your machine, take it one step at a time, and enjoy the satisfaction of a neckline you made with your own hands.

About
Bennie Wilder is a dedicated figure in the world of sewing, clothing repair, and garment care, with years of hands-on experience exploring practical techniques for making, repairing, and maintaining everyday clothing. His professional focus lies in combining traditional sewing craftsmanship with modern, easy-to-follow solutions, helping readers confidently handle common clothing problems at home. As an author at SewFixes, Bennie shares practical knowledge on sewing techniques, garment alterations, fabric care, clothing repairs, and DIY projects for beginners and experienced sewing enthusiasts alike.
Education
Fashion Institute of Technology (New York, USA)
Associate Degree in Fashion Design & Apparel Studies
- Focused on garment construction, sewing techniques, fabric fundamentals, and clothing alterations.
- Developed practical skills in pattern making, hand stitching, machine sewing, and garment finishing.
- Gained hands-on experience working with different fabrics, sewing tools, and apparel construction methods.
Academy of Art University (San Francisco, USA)
Bachelor’s in Fashion Design
- Specialized in apparel construction, textile selection, garment fitting, and contemporary clothing design.
- Studied the relationship between fabric properties, garment structure, durability, and comfort.
- Participated in practical design projects involving garment creation, alterations, repairs, and sustainable clothing practices.
Publications and Impact
Through SewFixes, Bennie shares practical insights into sewing, clothing repair, fabric care, garment alterations, and everyday DIY solutions. His writing focuses on turning complicated sewing tasks into simple, understandable steps that readers can follow at home.
Bennie covers everything from repairing torn seams and replacing buttons to fixing hems, adjusting garment fit, choosing suitable fabrics, and maintaining sewing machines and tools. His content is designed to help readers become more confident with their clothing while encouraging practical repair and reuse instead of unnecessary replacement.
Through his work, Bennie aims to bridge the gap between traditional sewing knowledge and modern everyday needs—making sewing more approachable, useful, and accessible to anyone who wants to repair better, sew smarter, and make their clothes last longer.