

A zipper foot is a small sewing machine attachment that lets you stitch close to raised edges, like the teeth of a zipper or the bulk of piping.
If you have ever tried to sew a zipper with a standard presser foot and ended up with wobbly, uneven stitches, this little tool is about to become your new favorite.
Learning how to use zipper foot techniques opens up a whole world of projects, from cushions and bags to jackets and dresses.
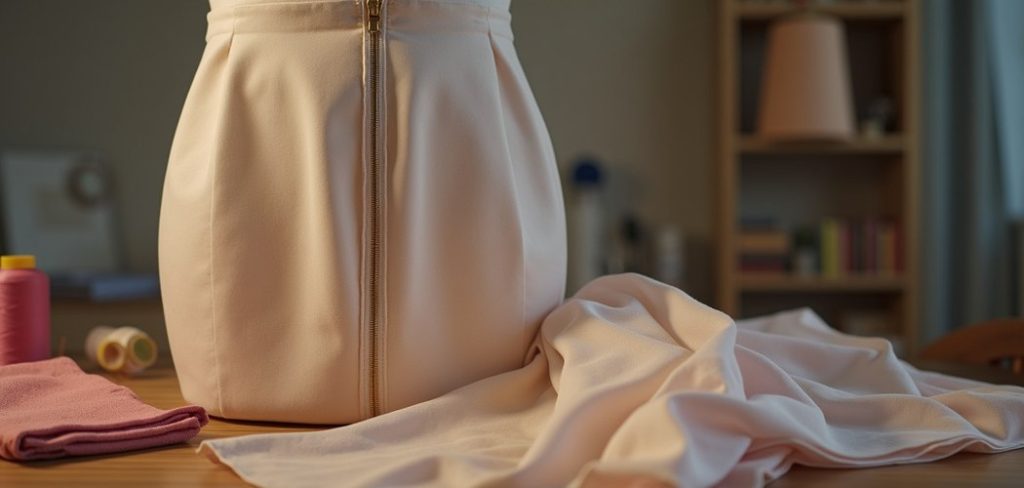
The beauty of this attachment lies in its narrow shape. Instead of forcing your needle away from the zipper, it slides neatly along one side so your stitches sit clean and straight.
Beginners often feel nervous about zippers, but the right foot removes most of the guesswork. In the sections below, you will find clear steps, helpful answers, and friendly guidance for every skill level.
By the end, you will feel confident tackling zippers without stress or frustration.
Why Using A Zipper Foot Matters
Using the correct foot makes a noticeable difference in both quality and comfort. A standard presser foot sits directly over the needle, which forces you to sew too far from the zipper teeth.
That gap creates loose fabric and messy lines. A zipper foot, on the other hand, positions the needle right beside the edge for a professional finish.
It also protects your project from broken needles and skipped stitches, since you no longer bump into bulky zipper pulls. This means fewer errors and less wasted fabric.
For beginners, that reduced frustration keeps motivation high. For experienced sewers, it saves time on every seam. Whatever you make, this simple swap delivers cleaner results and boosts your confidence at the machine.
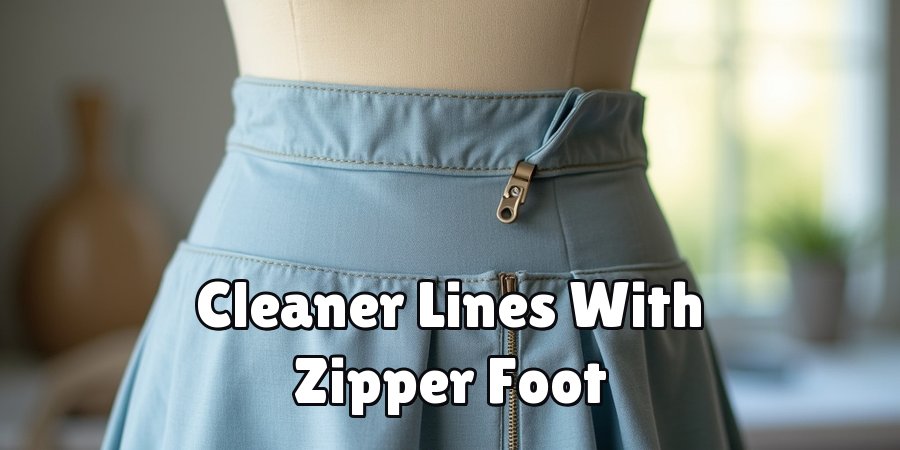
Step-by-Step Guide to How to Use Zipper Foot
Step 1: Gather Your Tools And Materials
Before you begin, set up a tidy workspace with everything within reach. You will need your sewing machine, the correct foot attachment, a matching zipper, coordinating thread, pins or clips, and the fabric for your project. Having these items ready prevents interruptions once you start stitching.
Take a moment to read your machine manual too, since attachment styles vary between brands. Some feet snap on while others screw into place.
Check that your zipper length matches your opening, and iron your fabric so it lies flat. A little preparation now makes the whole process smoother and helps you avoid mistakes that slow beginners down later.
Step 2: Attach The Foot Correctly
Start by lifting the presser foot lever and turning off your machine for safety. Remove the standard foot by pressing the release button behind the holder, or by unscrewing it if your model requires that.
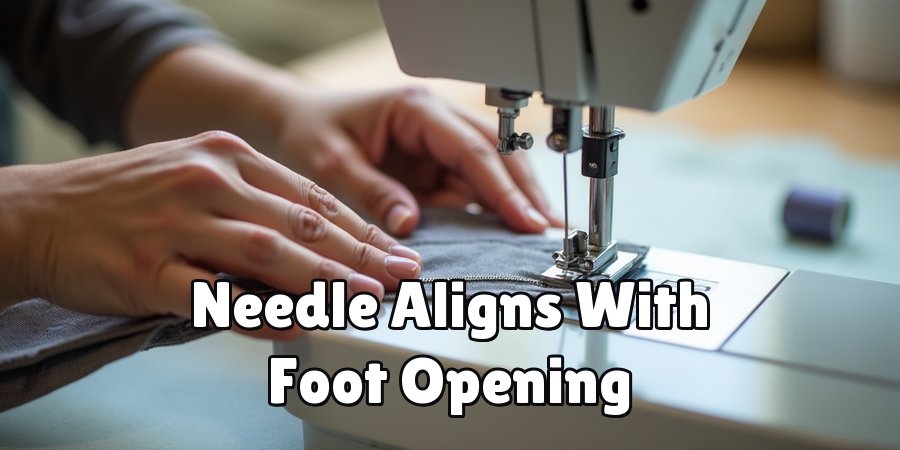
Then position the narrow attachment so the needle lines up with the notch or opening on either the left or right side.
This is the heart of learning how to use zipper foot methods, because correct placement controls where your needle lands. Snap or screw the foot firmly into place, then lower the lever to hold it steady. Give it a gentle wiggle to confirm it is secure before you power the machine back on.
Step 3: Position The Needle Properly
Once the foot is attached, you need to check the needle position. Turn the handwheel slowly by hand so the needle lowers toward the foot.
Watch closely to make sure it slides through the notch cleanly without hitting any metal. If it touches the foot, adjust the needle position using your machine settings until it clears fully.
Most modern machines let you move the needle left or right with a simple dial or button. This flexibility helps you sew as close to the zipper teeth as possible. Doing this test slowly protects your needle and prevents that startling snap that scares so many new sewers.
Step 4: Pin And Baste The Zipper
With your foot ready, place the zipper face down along the fabric edge, matching the raw edges neatly. Secure it with pins or clips spaced evenly so nothing shifts while you sew. Many sewers like to hand baste or use a long machine stitch first, creating a temporary hold that keeps everything aligned.
Basting might feel like an extra step, but it saves headaches later. It lets you check placement before committing to a permanent seam. If something looks crooked, you can remove the loose stitches easily and try again. This gentle practice builds accuracy and gives you a clear guide to follow during the final pass.
Step 5: Sew Along The First Side
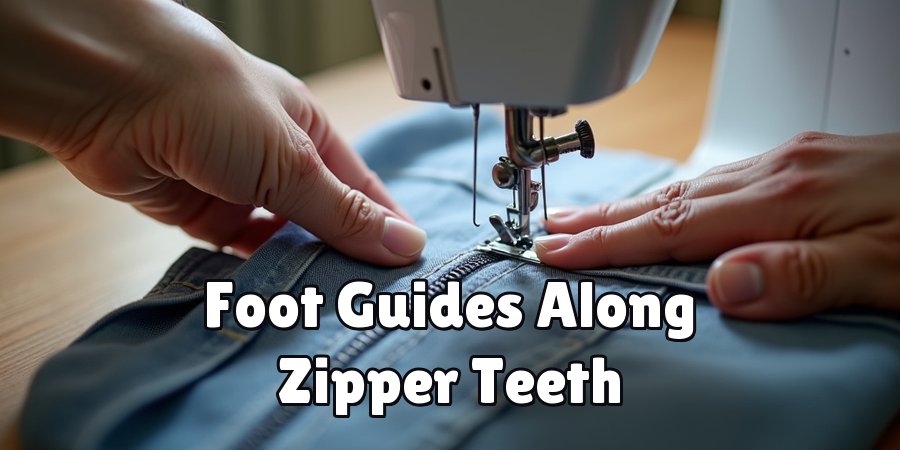
Now comes the satisfying part. Lower the needle into the fabric at the top of the zipper, then begin sewing slowly and steadily down one side. Keep the edge of the foot running smoothly against the zipper teeth, which acts as your natural guide. Steady speed matters far more than rushing here.
As you approach the zipper pull, stop with the needle down, lift the foot, and slide the pull past your needle. Lower the foot again and continue to the bottom. Understanding how to use zipper foot movements around that pull is what gives you those clean, unbroken lines the pros achieve.
Step 6: Switch Sides And Repeat
After finishing the first side, it is time to sew the second. Depending on your machine, you may need to move the foot to the opposite notch or simply adjust the needle position to the other side. This small change keeps your stitches balanced and mirrored on both edges of the zipper.
Return to the top and repeat the same slow, careful process you used before. Pause to move the zipper pull when needed, and keep the foot edge snug against the teeth. Working both sides with the same rhythm creates symmetry, and symmetry is what makes a finished zipper look polished and intentional.
Step 7: Finish And Test Your Zipper
Once both sides are stitched, remove any basting threads with a seam ripper, pulling gently so you do not disturb your final seam. Press the fabric flat with a warm iron to set the stitches and smooth away any puckering. This last touch elevates the whole look of your work.
Finally, test the zipper by opening and closing it several times. It should glide freely without catching on fabric. If it snags, check for stray threads or stitches sitting too close. A quick trim usually solves the issue. Congratulations, you have just completed a clean, functional zipper you can be proud of.
Frequently Asked Questions
Can I Use A Zipper Foot For More Than Zippers?
Absolutely, and that is one of its greatest strengths. This handy foot works beautifully for sewing piping, cording, and welting because it lets the needle stitch close to raised edges.
Many sewers also use it for topstitching along thick seams. Once you grow comfortable with it, you will reach for this attachment on all kinds of projects beyond simple zippers.
Why Does My Needle Keep Hitting The Foot?
This usually happens when the needle position does not line up with the foot opening. Before sewing, always turn the handwheel by hand to check the path.
Adjust your needle left or right using your machine settings until it clears the metal completely. Taking this slow test prevents broken needles and keeps both you and your machine safe throughout the project.
Do I Need A Special Foot For Invisible Zippers?
Yes, invisible zippers work best with a dedicated invisible zipper foot, which has grooves that roll the coils to expose the stitch line.
A standard narrow foot can still work in a pinch, but the specialized version gives a much cleaner, hidden result. If you sew invisible zippers often, investing in the correct foot is well worth it.
How Do I Stop My Fabric From Puckering?
Puckering often comes from sewing too fast or using the wrong tension. Slow your pace and let the machine feed the fabric naturally instead of pulling it.
Basting the zipper first also helps keep layers stable. Finally, press your seam with an iron once finished. These small habits smooth out wrinkles and give your zipper a flat, professional appearance every time.
Is A Zipper Foot Universal For All Machines?
Not always, since attachment styles differ between brands and models. Some feet snap on, while others screw into place, and shank heights vary too. Before buying, check your machine manual or measure your existing foot.
Many manufacturers sell brand-specific versions, and generic options exist as well. Matching the foot to your machine ensures a secure fit and reliable, frustration-free sewing.
Conclusion
Mastering zippers no longer needs to feel intimidating. With the right attachment and a little patience, you can stitch clean, straight seams that look professionally finished.
We walked through gathering your tools, attaching the foot, checking needle position, basting, sewing both sides, and testing your work, so every stage is clear and approachable for any skill level.
The key takeaway is that knowing how to use zipper foot techniques transforms one of sewing’s trickiest tasks into a smooth, repeatable routine.
Take your time, practice on scrap fabric first, and celebrate each small win along the way. Now grab your machine, pick a project you have been putting off, and give it a try.
Your confidence will grow with every zipper you complete, and your future projects will thank you for it.

About
Bennie Wilder is a dedicated figure in the world of sewing, clothing repair, and garment care, with years of hands-on experience exploring practical techniques for making, repairing, and maintaining everyday clothing. His professional focus lies in combining traditional sewing craftsmanship with modern, easy-to-follow solutions, helping readers confidently handle common clothing problems at home. As an author at SewFixes, Bennie shares practical knowledge on sewing techniques, garment alterations, fabric care, clothing repairs, and DIY projects for beginners and experienced sewing enthusiasts alike.
Education
Fashion Institute of Technology (New York, USA)
Associate Degree in Fashion Design & Apparel Studies
- Focused on garment construction, sewing techniques, fabric fundamentals, and clothing alterations.
- Developed practical skills in pattern making, hand stitching, machine sewing, and garment finishing.
- Gained hands-on experience working with different fabrics, sewing tools, and apparel construction methods.
Academy of Art University (San Francisco, USA)
Bachelor’s in Fashion Design
- Specialized in apparel construction, textile selection, garment fitting, and contemporary clothing design.
- Studied the relationship between fabric properties, garment structure, durability, and comfort.
- Participated in practical design projects involving garment creation, alterations, repairs, and sustainable clothing practices.
Publications and Impact
Through SewFixes, Bennie shares practical insights into sewing, clothing repair, fabric care, garment alterations, and everyday DIY solutions. His writing focuses on turning complicated sewing tasks into simple, understandable steps that readers can follow at home.
Bennie covers everything from repairing torn seams and replacing buttons to fixing hems, adjusting garment fit, choosing suitable fabrics, and maintaining sewing machines and tools. His content is designed to help readers become more confident with their clothing while encouraging practical repair and reuse instead of unnecessary replacement.
Through his work, Bennie aims to bridge the gap between traditional sewing knowledge and modern everyday needs—making sewing more approachable, useful, and accessible to anyone who wants to repair better, sew smarter, and make their clothes last longer.