

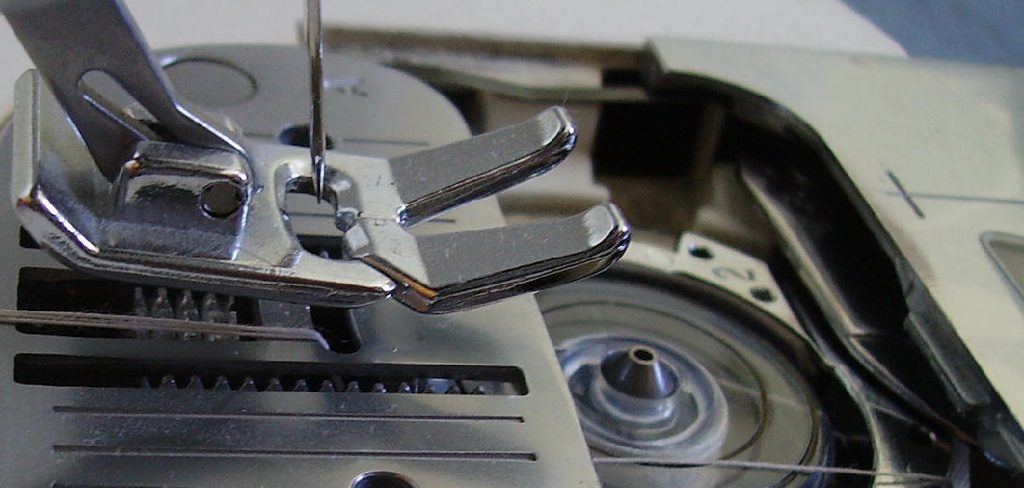
Uneven stitches, puckered fabric, and mysterious loops on the underside of your project can turn a fun sewing session into a frustrating one. The good news is that these problems usually come down to one simple thing, and it is easy to fix once you understand it. Learning how to adjust the tension on a sewing machine is one of the most useful skills any sewist can pick up, whether you are stitching your very first pillowcase or refining a detailed garment.
Tension controls how tightly the top thread and bobbin thread pull against each other as they form a stitch. When both threads pull evenly, your seams look clean and balanced on both sides. When one pulls too hard, your stitches become loose, tight, or messy. This guide breaks everything down into clear, friendly steps that work for all skill levels. You will learn what tension does, why it matters, and exactly how to get it right every time, so you can sew with confidence instead of second-guessing your machine.
Why Adjusting Sewing Machine Tension Matters
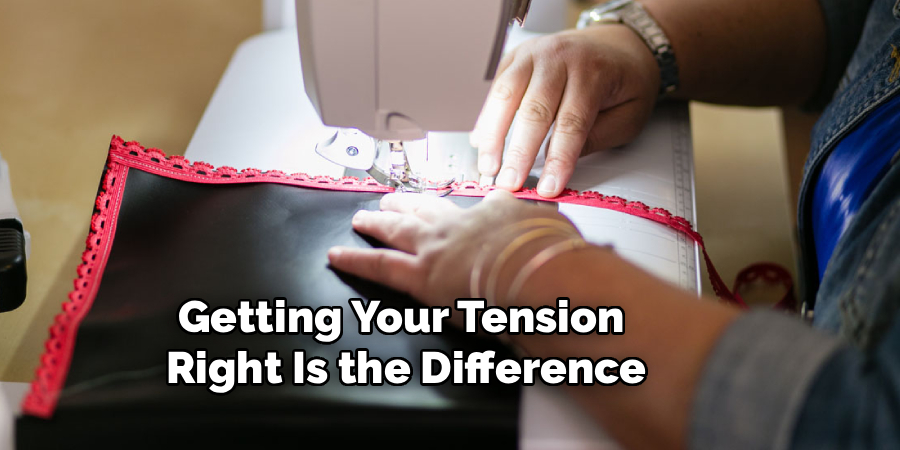
Getting your tension right is the difference between a project that looks homemade in a good way and one that looks messy. Balanced tension means your stitches sit flat and even, your fabric stays smooth, and your seams hold up over time. When the balance is off, you might see thread nests, skipped stitches, or fabric that bunches and warps, which weakens the finished piece.
There is also a comfort factor here. Once you understand this small adjustment, you spend less time unpicking mistakes and more time enjoying the creative part of sewing. It gives you control across different fabrics, from delicate silk to heavy denim, so you can switch projects without stress. Mastering this one setting empowers you to troubleshoot problems quickly and produce work you are genuinely proud to show off.
Step-By-Step Guide To How To Adjust The Tension On A Sewing Machine
Follow these seven steps in order, and take your time with each one. Small, careful changes lead to the best results, so there is no need to rush.
Step 1: Understand How Tension Works
before you touch any dials, it helps to know what is actually happening inside your machine. every stitch is a little tug-of-war between two threads, the top thread and the bobbin thread. when they pull with equal force, they lock together neatly in the middle of your fabric layers.
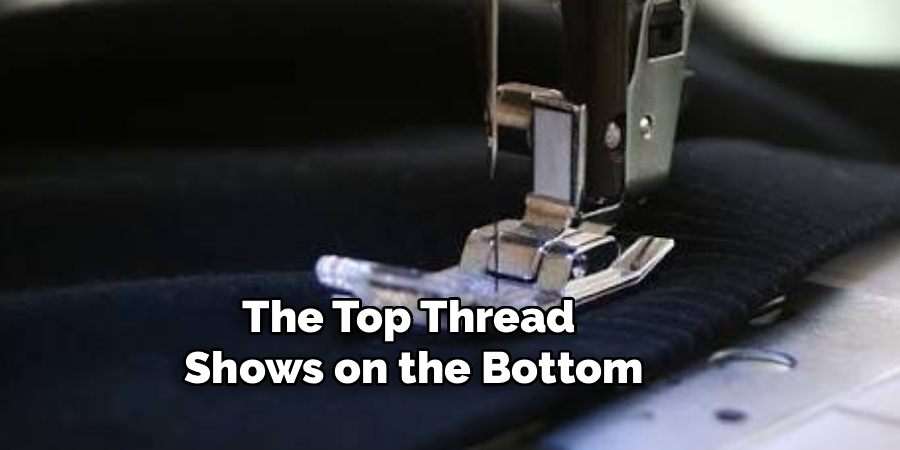
if the top thread is too tight, it pulls the bobbin thread up to the surface. if it is too loose, the top thread shows on the bottom. picturing this balance makes the whole process far less mysterious, and it gives you a clear mental model to work from as you make adjustments.
Step 2: Thread Your Machine Correctly
surprisingly, most tension troubles are not tension problems at all. they come from incorrect threading. so start here before changing any settings. raise the presser foot, which releases the tension discs, then rethread the top thread slowly and carefully, following the numbered path printed on your machine.
make sure the thread sits snugly in the tension discs and take-up lever. next, check that your bobbin is wound evenly and inserted the right way for your model. clean, correct threading solves a huge number of stitching issues, so never skip this simple reset step.
Step 3: Test On A Fabric Scrap
never experiment on your actual project. instead, grab a scrap of the same fabric, folded into two layers, so it matches what you will really be sewing. use the same thread in the top and bobbin, ideally in two contrasting colors, so you can clearly see which thread is misbehaving.
sew a straight line and look closely at both sides. this quick test shows you exactly where you stand before you change anything. learning how to adjust the tension on a sewing machine becomes much easier when you can see the results of each small change side by side.
Step 4: Find And Read The Tension Dial
now locate your tension controls. the top thread tension is usually a numbered dial or knob on the front or top of your machine, often ranging from zero to nine. the middle numbers, around four or five, work as a good starting point for most everyday fabrics.
Lower numbers loosen the top thread, while higher numbers tighten it. some newer machines adjust automatically, but many still let you fine-tune by hand. take a moment to find yours and note its current setting, so you always have a reference point to return to if needed.
Step 5: Adjust The Top Thread Tension
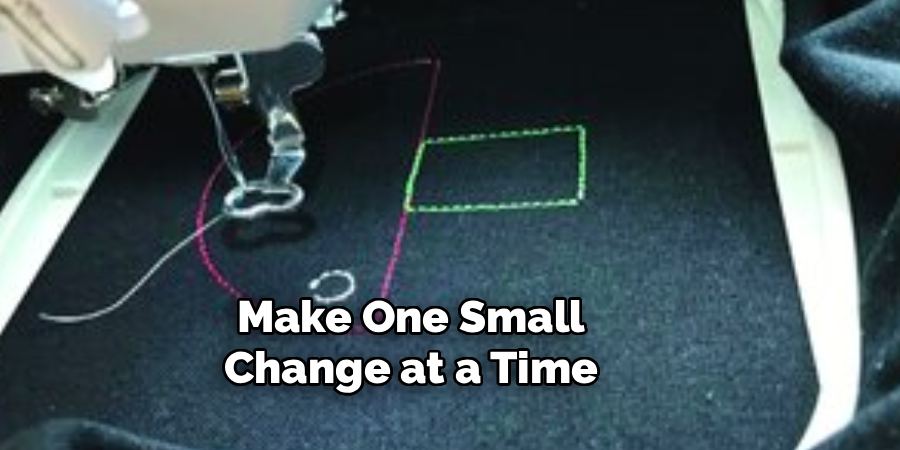
with your scrap ready, make one small change at a time. if your top thread looks too tight and pulls the bobbin thread to the surface, turn the dial to a lower number. if the top thread appears loose and shows up on the underside, turn it to a higher number.
sew a fresh test line after each change and compare the sides. this is the heart of how to adjust the tension on a sewing machine, and patience truly pays off here. move in single-number steps rather than big jumps, so you can pinpoint the perfect balance without overshooting.
Step 6: Check The Bobbin Tension
if adjusting the top thread alone does not solve the problem, the bobbin may need attention. most machines rarely require this, so approach it gently. remove the bobbin case and find the tiny screw on its side.
give the screw only a very slight turn, no more than a quarter turn, to loosen or tighten it, and always remember your starting position. a good rule is that a properly tensioned bobbin case should drop slowly when you hold the thread and give it a small bounce. test again on your scrap fabric before returning to your real project.
Step 7: Sew A Final Balanced Test
once your top and bobbin threads look even, run one more test to confirm everything is working. sew a straight line, a curve, and a few reverse stitches to see how the tension holds across different movements. flip the fabric over and check that both sides look smooth and matched, with no loops or puckering. if it looks great, note your settings for that fabric so you can repeat them later. this final check builds real confidence, and it means you can move on to your project knowing your machine is ready.
Frequently Asked Questions
What Number Should My Tension Be Set To?
Most machines work well with the top tension set between four and five for standard weight fabrics like cotton. This middle range gives balanced stitches on both sides for everyday projects. That said, the ideal number changes with your fabric and thread, so always test on a scrap first. Lighter fabrics often need slightly lower settings, while thicker materials may need a touch more.
Why Does My Bobbin Thread Show On Top?
When your bobbin thread pulls up to the top surface of your fabric, your top thread is usually too tight. Try lowering the top tension dial by one number and sewing a fresh test line. If the issue continues, rethread your machine completely, since incorrect threading is a common hidden cause. Checking these two things solves the problem in most situations quickly.
Should I Adjust The Top Thread Or The Bobbin First?
Always start with the top thread tension, since it is easier to reach and fixes most problems on its own. Make small changes and test after each one. Only move on to the bobbin if adjusting the top thread does not create balanced stitches. The bobbin rarely needs changes, so treat it as a last step rather than a first response.

How Do I Know If My Tension Is Balanced?
Balanced tension shows up as even, smooth stitches that look the same on both the top and bottom of your fabric. You should not see loops, bunching, or one thread being pulled to the opposite side. A simple test with two contrasting thread colors makes this easy to spot. If both colors stay neatly on their own sides, your tension is right.
Can The Wrong Needle Cause Tension Problems?
Yes, a damaged, dull, or wrong-sized needle can create stitching issues that look exactly like tension trouble. A needle that is too small for thick fabric, or too large for delicate cloth, disrupts how the threads lock together. Before spending time on the dials, swap in a fresh needle suited to your material. This quick fix often solves puzzling problems on its own.
Conclusion
Balanced stitches are within everyone’s reach, no matter your skill level. By understanding how threads work together, threading your machine correctly, and testing on scraps before every project, you set yourself up for smooth, professional-looking results. Small, patient adjustments to the top thread, and occasionally the bobbin, give you full control over how your stitches turn out. Knowing how to adjust the tension on a sewing machine transforms sewing from a guessing game into a reliable, enjoyable craft.
The best way to build this skill is simply to practice. Keep a few fabric scraps nearby, jot down the settings that work for different materials, and do not be afraid to experiment. Each test teaches you something new, and before long these adjustments will feel like second nature. So grab your machine, thread it up, and start creating with confidence, knowing you can fix any tension hiccup that comes your way.

About
Bennie Wilder is a dedicated figure in the world of sewing, clothing repair, and garment care, with years of hands-on experience exploring practical techniques for making, repairing, and maintaining everyday clothing. His professional focus lies in combining traditional sewing craftsmanship with modern, easy-to-follow solutions, helping readers confidently handle common clothing problems at home. As an author at SewFixes, Bennie shares practical knowledge on sewing techniques, garment alterations, fabric care, clothing repairs, and DIY projects for beginners and experienced sewing enthusiasts alike.
Education
Fashion Institute of Technology (New York, USA)
Associate Degree in Fashion Design & Apparel Studies
- Focused on garment construction, sewing techniques, fabric fundamentals, and clothing alterations.
- Developed practical skills in pattern making, hand stitching, machine sewing, and garment finishing.
- Gained hands-on experience working with different fabrics, sewing tools, and apparel construction methods.
Academy of Art University (San Francisco, USA)
Bachelor’s in Fashion Design
- Specialized in apparel construction, textile selection, garment fitting, and contemporary clothing design.
- Studied the relationship between fabric properties, garment structure, durability, and comfort.
- Participated in practical design projects involving garment creation, alterations, repairs, and sustainable clothing practices.
Publications and Impact
Through SewFixes, Bennie shares practical insights into sewing, clothing repair, fabric care, garment alterations, and everyday DIY solutions. His writing focuses on turning complicated sewing tasks into simple, understandable steps that readers can follow at home.
Bennie covers everything from repairing torn seams and replacing buttons to fixing hems, adjusting garment fit, choosing suitable fabrics, and maintaining sewing machines and tools. His content is designed to help readers become more confident with their clothing while encouraging practical repair and reuse instead of unnecessary replacement.
Through his work, Bennie aims to bridge the gap between traditional sewing knowledge and modern everyday needs—making sewing more approachable, useful, and accessible to anyone who wants to repair better, sew smarter, and make their clothes last longer.
1 thought on “How To Adjust The Tension On A Sewing Machine”