


That pair of bootcut jeans sitting at the back of your closet doesn’t have to stay there. Maybe they fit you perfectly through the waist and thighs, but the flared bottoms feel dated. Instead of tossing them out or letting them collect dust, you can give them a whole new life. Turning bootcut jeans into straight-leg jeans is one of the most satisfying DIY denim projects you can tackle at home, and it costs next to nothing.
Upcycling your old clothes is good for your wallet and even better for the planet. The fashion industry produces a staggering amount of waste every year, and every garment you rescue is one less item in a landfill.
This guide on how to turn bootcut jeans into straight leg jeans walks you through everything, from gathering your supplies to putting in that final stitch. Let’s get started on your denim makeover.
What are the Benefits?
Before you grab your scissors, it helps to understand why this project is worth your time. There are plenty of good reasons to reshape those flared legs.
- You save money. A quality pair of straight leg jeans can cost anywhere from $40 to well over $100. By altering what you already own, you get a fresh look for the price of a spool of thread.
- You keep clothes out of landfills. Textile waste is a huge environmental problem. Reworking your jeans instead of buying new ones shrinks your carbon footprint and gives your denim a second act.
- You get a custom fit. Store-bought jeans rarely fit everyone the same way. When you do the tailoring yourself, you control exactly how narrow the leg becomes and where it sits on your ankle.
- You build a useful skill. Once you learn how to taper a pant leg, you can apply that same technique to other trousers and jeans in your closet. It’s a skill that keeps paying off.
- You update your style effortlessly. Straight leg jeans are timeless and pair well with sneakers, boots, and heels alike. This simple change modernizes your whole outfit.
What Will You Need?
Gathering the right tools before you begin makes the entire process smoother. Here’s your checklist:
- A pair of bootcut jeans you want to transform
- A pair of straight-leg jeans you already love (to use as a guide)
- Fabric chalk or a washable marker
- Straight pins
- A measuring tape
- Sharp fabric scissors
- A seam ripper
- A sewing machine (hand sewing works too, but it takes longer)
- Denim thread that matches your jeans
- A denim sewing needle
- An iron and ironing board
- A flat surface to work on
Having everything within reach saves you from frustrating mid-project trips to the store. If you don’t own a sewing machine, a strong hand-stitch will still get the job done.
10 Easy Steps on How to Turn Bootcut Jeans into Straight Leg Jeans
Step 1: Wash and Dry Your Jeans First
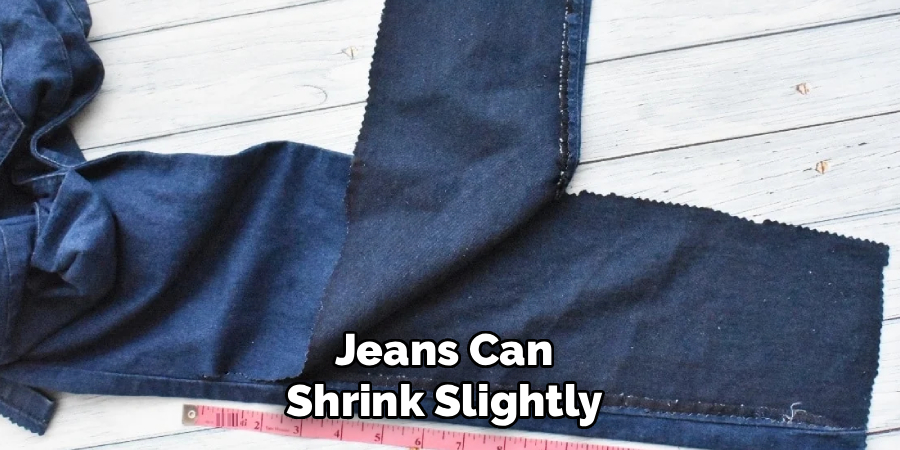
Always start with clean, pre-washed denim. Jeans can shrink slightly after their first few washes, so laundering them beforehand ensures your measurements stay accurate. Wash and fully dry the pair you plan to alter, then give them a good press with a hot iron. Smooth, wrinkle-free fabric is much easier to measure and cut precisely. Skipping this step could leave you with legs that end up shorter or tighter than you intended after the next laundry day.
Step 2: Turn the Jeans Inside Out
Flip your bootcut jeans inside out and lay them flat on your work surface. Working from the inside keeps your chalk lines and stitches hidden on the finished product. It also lets you see the existing seams clearly, which you’ll use as your reference points. Smooth out any bunching so the fabric lies completely flat. Line up the front and back of each leg so they match evenly. This preparation prevents lopsided results later on.
Step 3: Use a Straight Leg Pair as Your Template
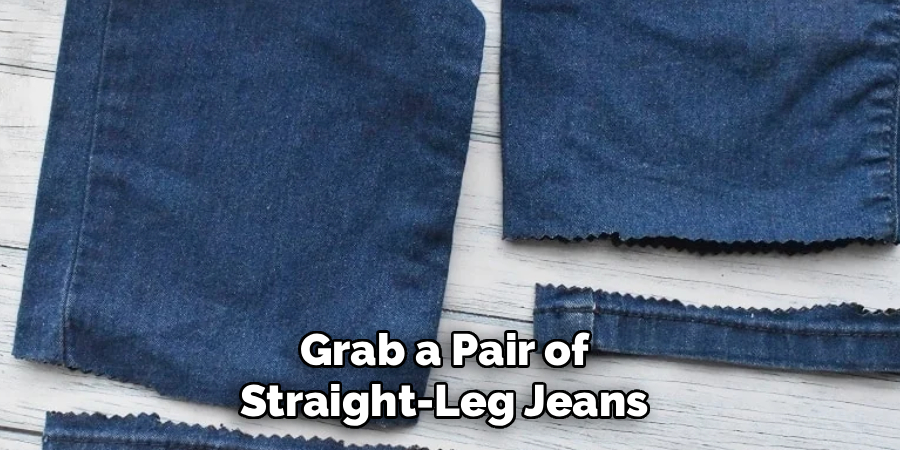
Grab a pair of straight-leg jeans that fit you well. Lay them directly on top of your inside-out bootcut jeans, matching the waistbands and inseams as closely as possible. This gives you a reliable visual guide for how narrow the leg should be. Pay special attention to the knee and the hem, since that’s where bootcut and straight styles differ most. Using a template you already trust takes the guesswork out of the whole project.
Step 4: Mark Your New Seam Line
With your template in place, use fabric chalk to trace along the outer edge of the straight-leg jeans onto your bootcut pair. Focus on the area from the knee down to the ankle, since the flare lives below the knee. Make a smooth, gradual line rather than a sharp angle so the taper looks natural. Do this on both the inseam and the outer seam if needed, though many people only adjust the inseam. Mark both legs so they match. Turn your newly tapered jeans right side out and press the seams flat with a hot iron.
Step 5: Pin Along the Chalk Line
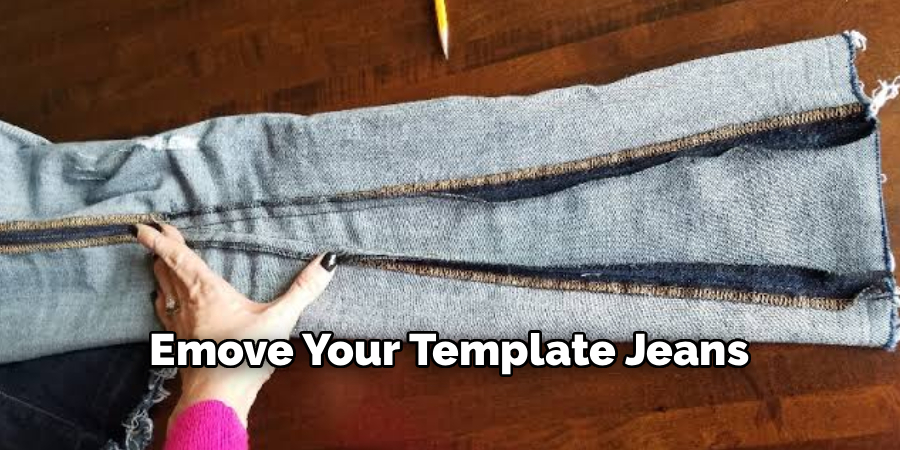
Remove your template jeans and pin along the chalk line you just drew. Place the pins perpendicular to the line, spacing them about two inches apart. Pinning holds the fabric in place and lets you try the jeans on before you commit to any cutting or sewing. Make sure both layers of denim are caught by each pin so nothing shifts. Take your time here; well-placed pins make the sewing stage far easier and more accurate.
Step 6: Try Them On and Adjust
Carefully turn the pinned jeans right side out and slip them on. This is your chance to check the fit before it becomes permanent. Look in a mirror and move around a little. Are the legs too tight to sit comfortably? Too loose to look straight? Adjust the pins as needed until you’re happy with the shape. Watch out for pins when you pull the jeans on and off. When the fit feels right, turn them inside out again.
Step 7: Draw Your Final Sewing Line
Once you’ve confirmed the fit, redraw a clean chalk line following your adjusted pins. This is the line you’ll actually stitch along, so make it crisp and confident. Remember to leave about half an inch beyond this line for your seam allowance and for cutting. A steady, smooth curve from the knee to the ankle gives the most professional result. Double-check that both legs mirror each other before you move on to the sewing machine.
Step 8: Sew Along the New Seam
Thread your machine with denim thread and fit it with a denim needle, since regular needles can snap on thick fabric. Sew slowly and steadily along your final chalk line, backstitching at the beginning and end to lock your stitches. Follow the curve carefully so the taper stays smooth. If you’re hand sewing, use a strong backstitch for durability. Take your time through the thicker seams where fabric overlaps. A neat, even line here makes all the difference.
Step 9: Trim the Excess Fabric
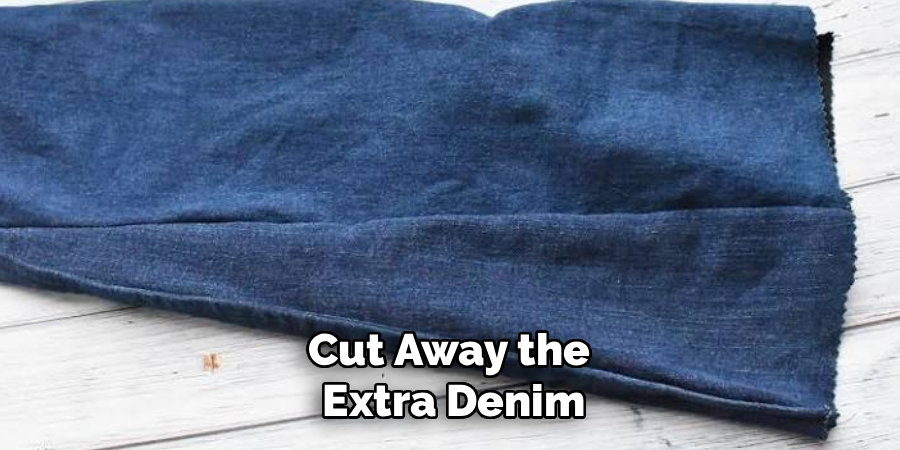
After sewing, cut away the extra denim, leaving about half an inch of seam allowance beyond your stitches. This keeps the seam from becoming bulky while still holding strong. Use sharp fabric scissors for a clean cut. If you want a tidier inside finish, run a zigzag stitch along the raw edge or use pinking shears to reduce fraying. Trim both legs the same way so they stay symmetrical and comfortable.
Step 10: Press and Hem if Needed
Turn your newly tapered jeans right side out and press the seams flat with a hot iron. Pressing sets the stitches and gives the legs a crisp, finished look. If the legs are now too long, measure the length you want, fold up the hem, pin it, and stitch it in place. Give everything one final press. Step back and admire your work; your bootcut jeans are now a stylish straight-leg pair.
5 Things You Should Avoid
Even a simple project has a few pitfalls. Steer clear of these common mistakes to get the best results.
- Skipping the pre-wash. If you cut and sew before washing, shrinkage can ruin your careful measurements. Always launder first.
- Cutting before you sew. Never trim the excess denim until after you’ve stitched and confirmed the fit. Once fabric is gone, you can’t put it back.
- Making the taper too sharp. A sudden narrowing from knee to ankle looks awkward and can feel restrictive. Aim for a gentle, gradual line instead.
- Using the wrong needle or thread. Regular sewing needles break easily on heavy denim. Invest in a denim needle and matching heavy-duty thread.
- Rushing the fitting stage. Trying the jeans on before sewing is the single best way to avoid disappointment. Don’t skip it to save time.
Conclusion
How to turn bootcut jeans into straight leg jeans is a rewarding project that anyone can master with a little patience. You save money, reduce waste, and end up with a custom pair of jeans tailored exactly to your taste. Along the way, you pick up a handy skill you can use again and again on other pieces in your wardrobe.
Remember the essentials: wash first, use a trusted pair as your template, always try the jeans on before sewing, and never cut until your stitches are in place. Avoid the common mistakes, take your time through each step, and you’ll be amazed at how professional your finished jeans look.
So dig out that forgotten pair of bootcuts and give them the upgrade they deserve. Your closet, your budget, and the planet will thank you. Grab your scissors and get stitching; a fresh new pair of straight-leg jeans is just a few steps away.

About
Bennie Wilder is a dedicated figure in the world of sewing, clothing repair, and garment care, with years of hands-on experience exploring practical techniques for making, repairing, and maintaining everyday clothing. His professional focus lies in combining traditional sewing craftsmanship with modern, easy-to-follow solutions, helping readers confidently handle common clothing problems at home. As an author at SewFixes, Bennie shares practical knowledge on sewing techniques, garment alterations, fabric care, clothing repairs, and DIY projects for beginners and experienced sewing enthusiasts alike.
Education
Fashion Institute of Technology (New York, USA)
Associate Degree in Fashion Design & Apparel Studies
- Focused on garment construction, sewing techniques, fabric fundamentals, and clothing alterations.
- Developed practical skills in pattern making, hand stitching, machine sewing, and garment finishing.
- Gained hands-on experience working with different fabrics, sewing tools, and apparel construction methods.
Academy of Art University (San Francisco, USA)
Bachelor’s in Fashion Design
- Specialized in apparel construction, textile selection, garment fitting, and contemporary clothing design.
- Studied the relationship between fabric properties, garment structure, durability, and comfort.
- Participated in practical design projects involving garment creation, alterations, repairs, and sustainable clothing practices.
Publications and Impact
Through SewFixes, Bennie shares practical insights into sewing, clothing repair, fabric care, garment alterations, and everyday DIY solutions. His writing focuses on turning complicated sewing tasks into simple, understandable steps that readers can follow at home.
Bennie covers everything from repairing torn seams and replacing buttons to fixing hems, adjusting garment fit, choosing suitable fabrics, and maintaining sewing machines and tools. His content is designed to help readers become more confident with their clothing while encouraging practical repair and reuse instead of unnecessary replacement.
Through his work, Bennie aims to bridge the gap between traditional sewing knowledge and modern everyday needs—making sewing more approachable, useful, and accessible to anyone who wants to repair better, sew smarter, and make their clothes last longer.